Bend knots are a category of knots used to join two lengths of rope, they are useful in many tasks including climbing, sailing, and rescue. These knots guarantee a solid bond that can handle stress and movement. Each type of bend knot has specific advantages, such as ease of tying, security, and heavy load capacity. Learning these knots will help anyone who needs a secure means of connecting ropes safely.
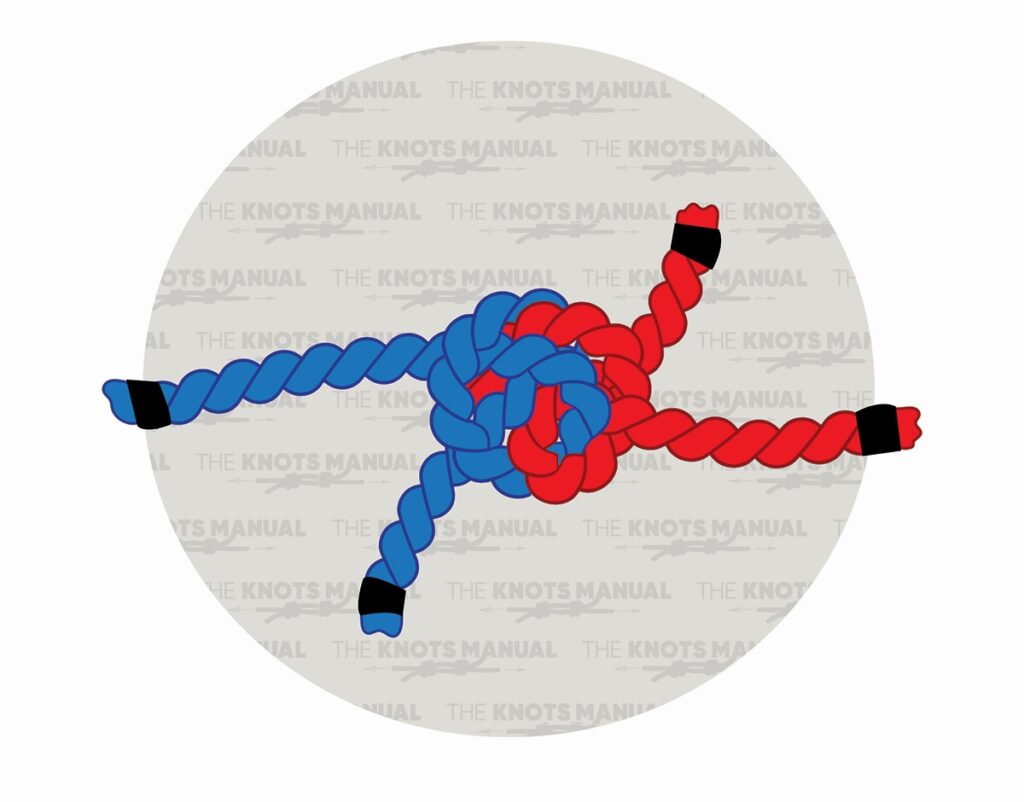
1. Carrick Bend
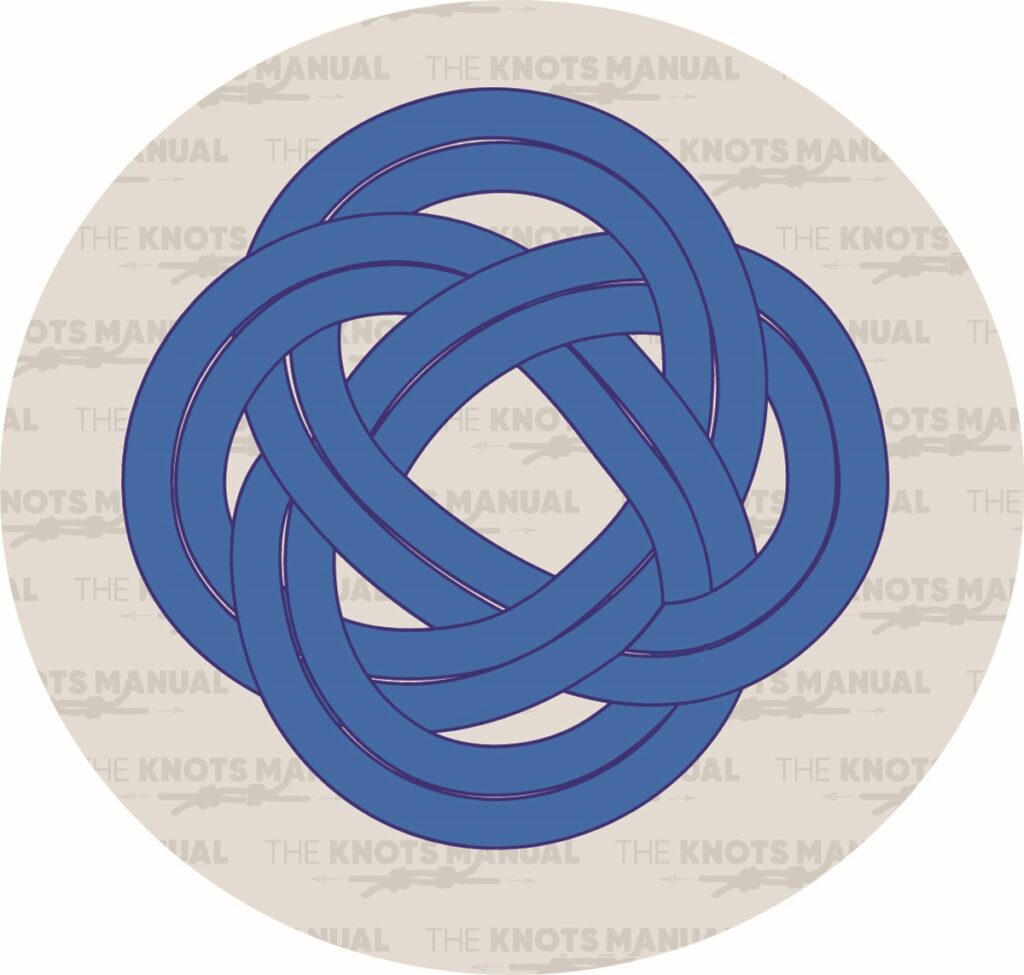
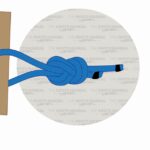
The Carrick Bend is used to join two ropes, especially heavy ones that don’t bend well. It’s also favored for decorative purposes due to its symmetrical and visually pleasing structure. This knot is reliable under load and remains easy to untie after being subjected to tension.
To tie a Carrick Bend knot, start by creating a loop near the end of the first rope. Then, intertwine this loop from the other direction using the second rope. At each crossing, each rope should go under and over repeatedly. Pull the standing ends of each rope in opposite directions to tighten the knot.
2. Figure Eight Bend (Flemish Bend)
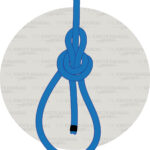
The Figure Eight Bend creates a strong connection between the ends of two ropes. It’s one of the strongest knots for tying two ropes together, making it suitable for critical applications like climbing and rescue. This knot is easy to tie and inspect, providing a secure and reliable bond.
Tying a Figure Eight Bend knot is simply creating a loose Figure Eight knot on one rope and then retracing it in the opposite direction with another rope. Pull the ends to tighten and secure the knot.
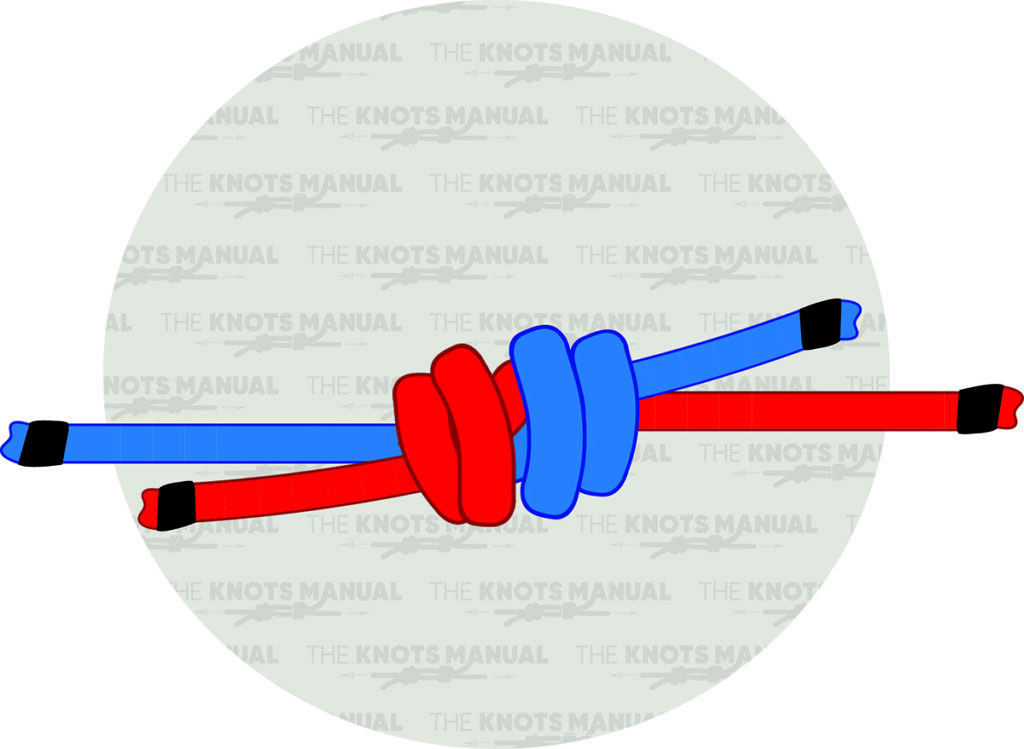
3. Harness Bend
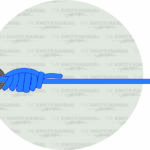
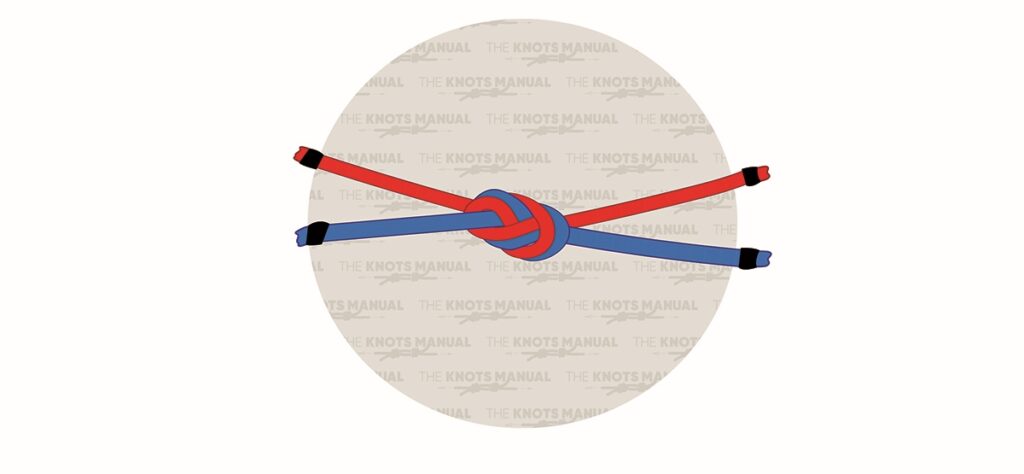
The Harness Bend is a reliable knot used to join two ropes or lines, even those of different diameters. It’s favored by climbers, sailors, and outdoor enthusiasts for its strength and simplicity. This knot holds securely under tension and is relatively easy to tie and untie.
To tie a Harness Bend knot, begin by making an overhand loop near the end of the rope being held under tension. Pass the working end of the second rope through the loop and over and around the working end of the first rope, creating a Half Hitch with the second line around the standing part of the first line. Then, tighten the hitch down onto the first loop. Next, feed the free end back through the formed loops and tighten the knot by pulling the standing ends of the ropes, which will shorten the working ends until the knot is fully set in place.
4. Alpine Butterfly Bend
The Alpine Butterfly Bend creates a secure connection between two ropes. Its main advantage is that it’s tied almost identically to the Alpine Butterfly Loop, making it easy to learn for those familiar with the loop version. This knot is very secure and both ends come out in the same direction, making it suitable for climbing and mountaineering.
To tie an Alpine Butterfly Bend knot, place the working ends of both ropes next to each other. Join them together with tape or hold them with your hand. Wrap the first rope around your palm clockwise one full turn. Then, wrap the other rope around your palm in the same direction. Next, take the working ends of both ropes in your hand and pass them over and then underneath the two bottom strands. Remove your hand, and the result of the knot should look like a butterfly. Release the temporary join and tighten the knot by pulling the ends.
5. Hunter’s Bend

The Hunter’s Bend is a reliable and robust knot used to join two ropes or lines, even those of different diameters. It is favored by climbers, sailors, and outdoor enthusiasts for its strength and simplicity. This knot holds securely under tension and is relatively easy to tie and untie.
When tying a Hunter’s Bend knot, start with two ropes and form a bight in each rope. Interlock the two bights and pass each end over itself and the other rope to create interlocking loops. Next, thread each rope through the middle, under both ropes, and then above itself. Then complete the bend by pulling the ends evenly.
6. Double Fisherman’s Bend
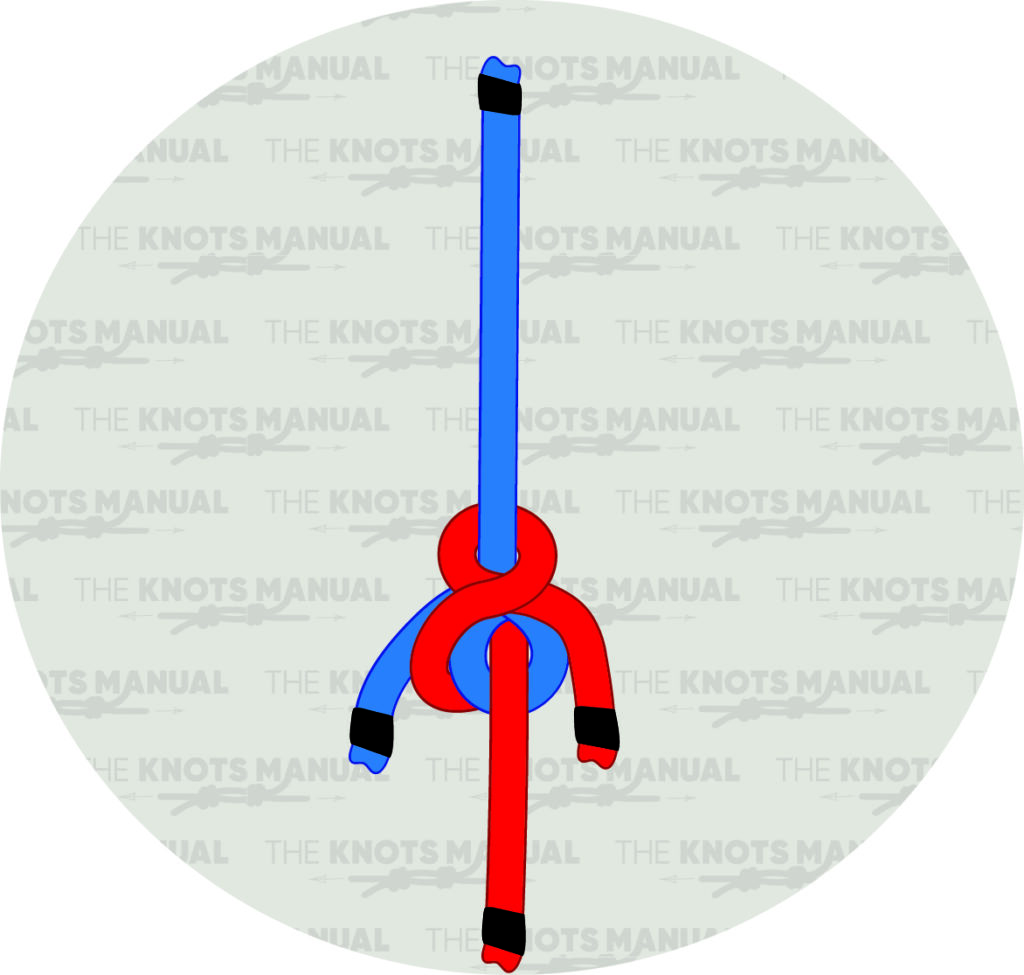
The Double Fisherman’s Bend is used to create a strong connection between two ropes or to form a closed loop. Despite its name, it’s rarely used by fishermen but is commonly employed in climbing, search and rescue, and similar applications. This knot is very strong but can be difficult to untie after being loaded.
To tie a Double Fisherman’s Bend knot, begin with two ropes, or both ends of a single rope, laying next to each other. Wrap the first rope around the second rope one or two times and pass the end of it through the formed loops. Tighten the first knot and then create a second knot by tying the second rope around the first one. Then, slide both knots together to secure and complete the knot.
7. Racking Bend
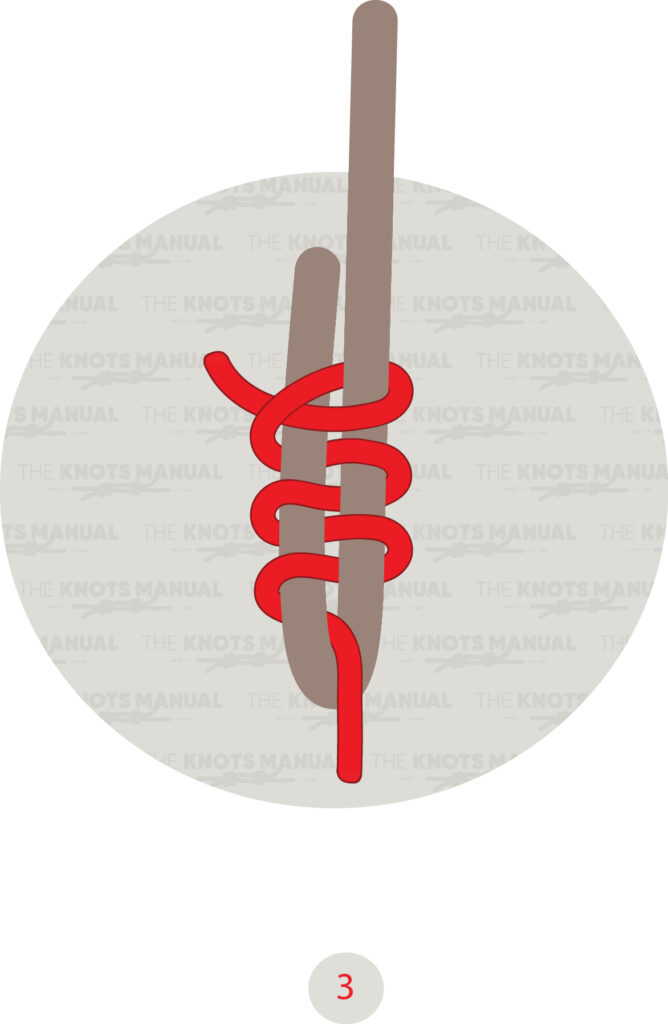
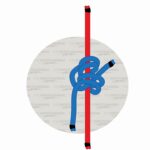
The Racking Bend is a strong and reliable knot used to join two ropes, especially when they differ in diameter or material. Many climbers and sailors use this knot because of its ability to maintain its strength under tension. It’s a practical choice for situations where ropes of varying characteristics need to be securely connected.
Tying a Racking Bend knot starts by forming a bight at the end of a heavier rope and then passing a thinner line into the bight. Begin weaving the thinner line in and out of the loop and through the bight, working from the bottom up in a figure-eight fashion. Create at least four complete turns around the bight. Then, pull each end to tighten and secure the knot.
8. Ashley Bend
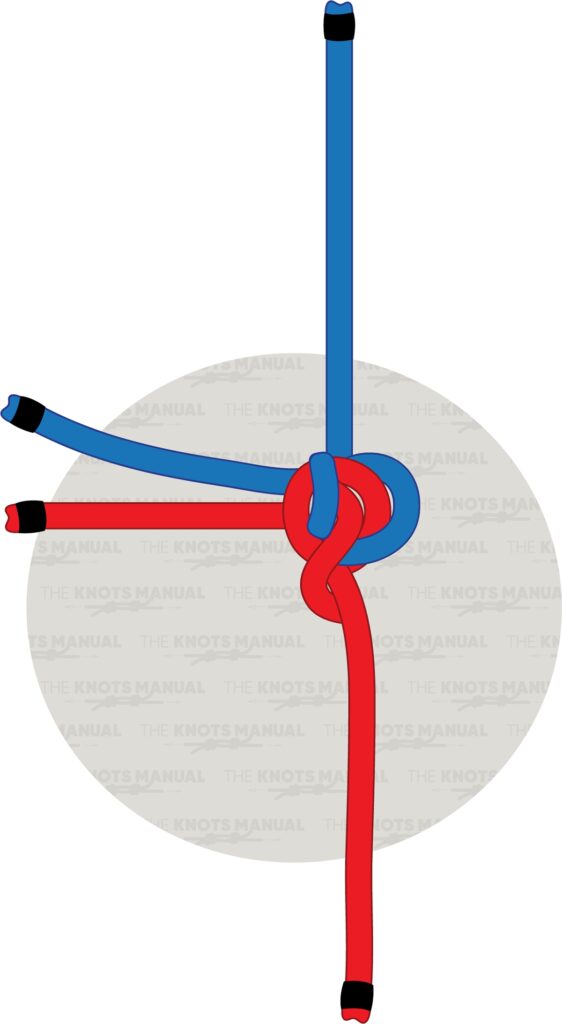
Ashley Bend is a strong and reliable knot used to join two ropes securely. It’s popular among sailors, climbers, and outdoor enthusiasts because it’s easy to tie and works well in many situations. This knot holds tightly under tension, making it ideal for activities where safety and strength are important.
To tie an Ashley Bend knot, begin by forming a loop at the end of one rope, preparing to tie it into an Overhand knot. Next, take the end of the second rope and bring it up through the first loop, creating its own loop that will be tied into an Overhand knot. Then, complete the two Overhand knots with the two loops by feeding the working ends through each other’s loop, as well as their own rope. Tighten the knot by pulling all four ends.
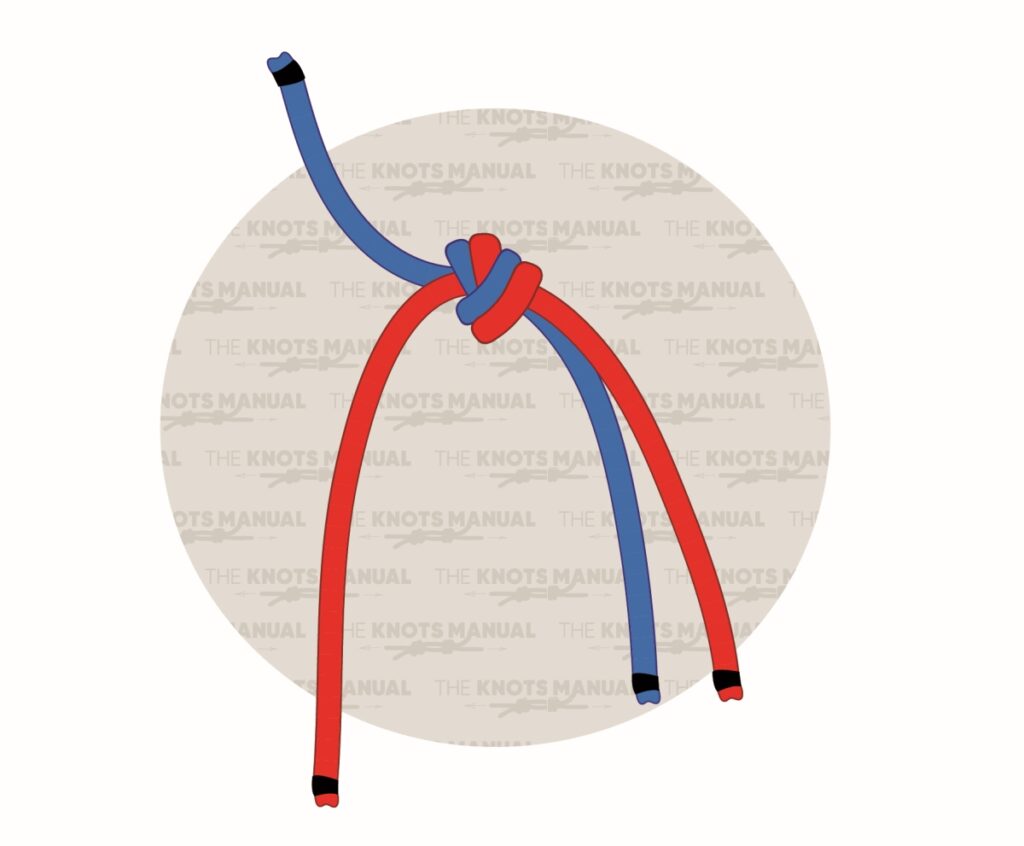
9. Zeppelin Bend
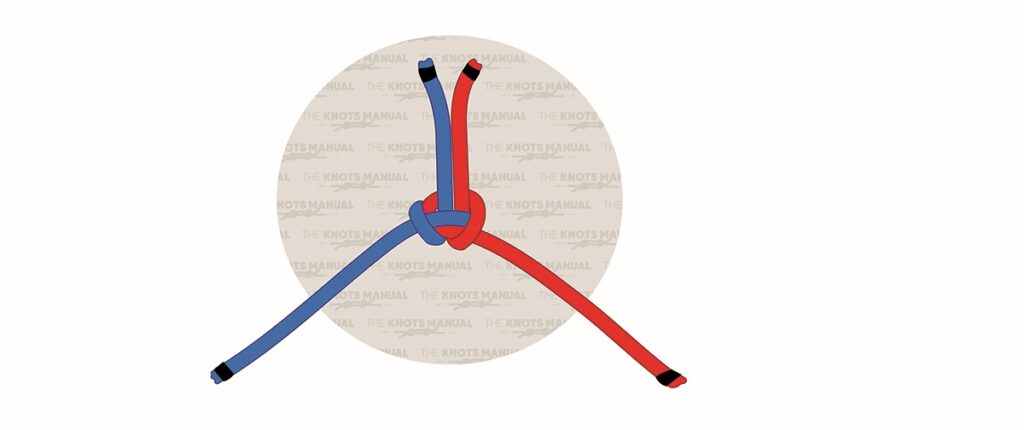
The Zeppelin Bend is a secure type of knot that joins two ropes together. It is easy to untie but can be challenging to tie when under pressure from a load. This knot is almost identical to the Ashley, Alpine Butterfly, and Hunter’s Bend, offering a reliable option for securely connecting ropes.
Tying a Zeppelin Bend is created by interlinking two symmetric Overhand knots. Start by placing one loop over another loop and pass one of the ends through the loops. Then pass the end of the other rope through the loops. Simultaneously pull on the working ends and two standing ends to tighten the knot.
10. Flat Overhand Bend
The Flat Overhand Bend is one of the simplest ways of connecting two ropes using an Overhand Knot. It’s often used in climbing due to its nature of rolling over rocks and not getting stuck. While not as strong as some other bends, its simplicity and ease of tying make it a practical choice in certain situations.
To tie a Flat Overhand Bend knot, place the working ends of both ropes next to each other. Then, use both ends of the ropes together to form a closed loop and bring the ends of the ropes through the loop. Complete the knot by pulling the ends.