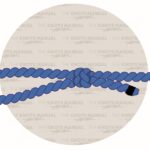
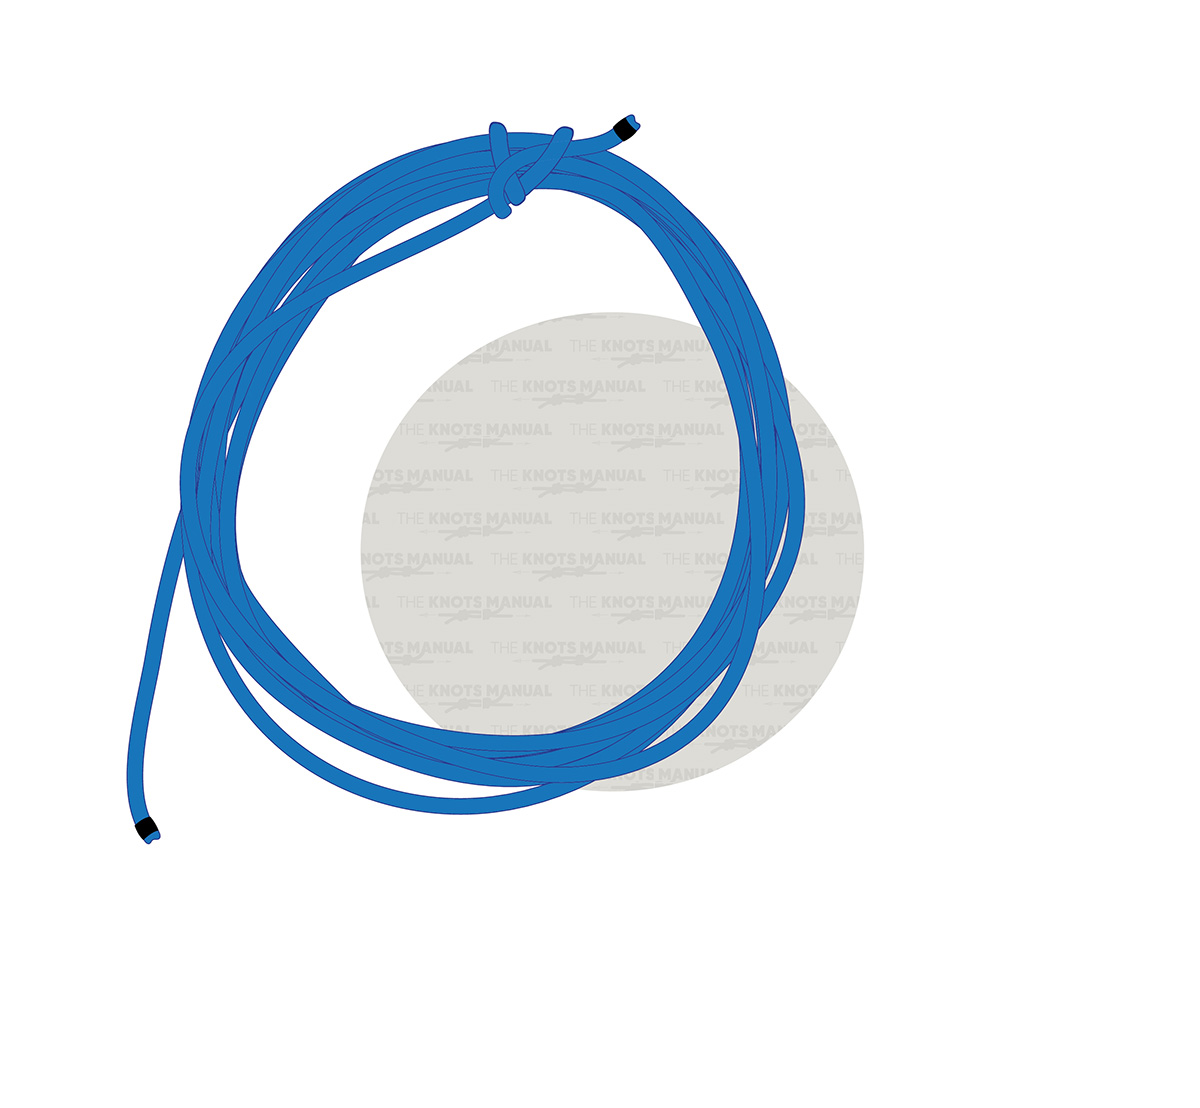
The Quickie Coil Knot is a fast and efficient method for coiling and securing ropes, making it ideal for quick storage or transport. This knot is particularly useful for climbers, sailors, and outdoor enthusiasts who need a fast solution to manage ropes on the go. Its ease of use and reliability have made it a favorite among professionals and hobbyists alike.
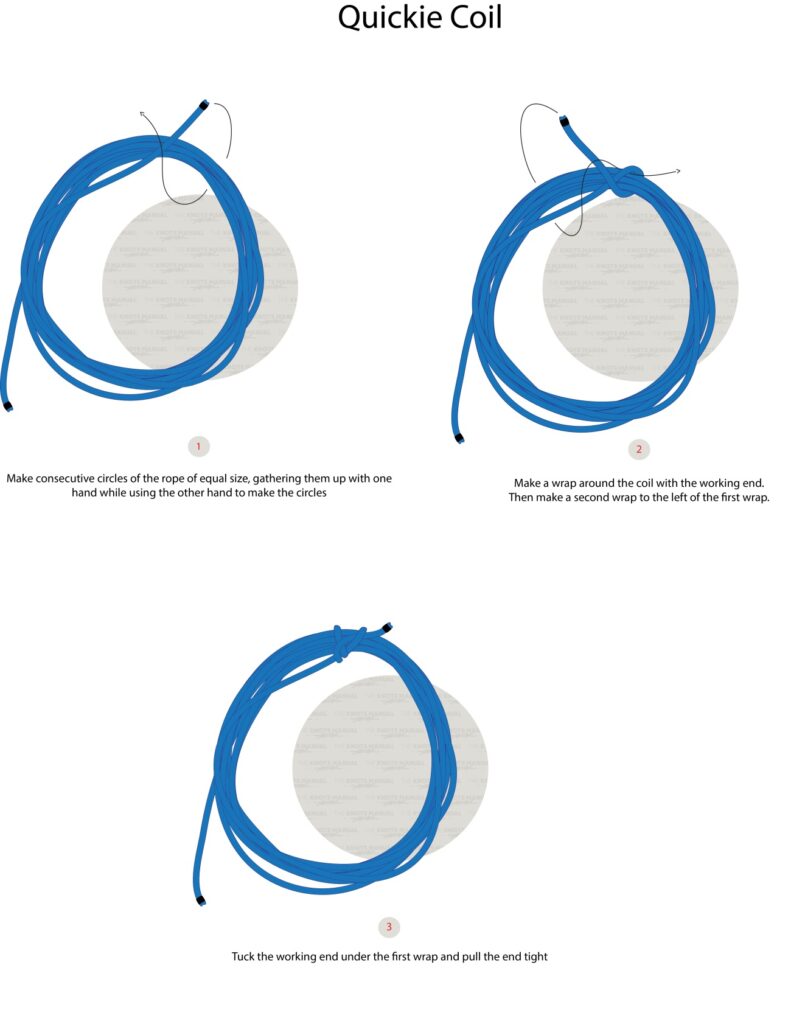
Quickie Coil Knot: Quick Tying Guide
To tie a Quickie Coil Knot, begin by coiling the rope loosely in your hand or on a flat surface by making consecutive circles of the rope and ensuring each loop is even. Leave a short section of rope free at the end and use this working end to wrap around the coil. Then make a second wrap to the left of the first one. Finally, take the working end and tuck it under the first wrap, and pull the end to tighten.
Why Use a Quickie Coil Knot?
The Quickie Coil Knot is a go-to knot for anyone needing a quick and efficient way to organize ropes. It’s particularly useful in situations where time is of the essence, as it can be tied and untied quickly. This knot is versatile and works well for temporary rope storage, gear organization, or preparing ropes for transport. While it may not hold as tightly as some other knots under heavy loads, it excels in convenience and ease of use.
Knots Similar to the Quickie Coil Knot
Sailor’s Coil Knot: A traditional method for coiling and securing ropes, offering a more secure hold than the Quickie Coil.
Figure-Eight Knot: While primarily used for creating loops, this knot can also be used to secure the ends of ropes to prevent unraveling.
Clove Hitch: A versatile knot for temporarily securing ropes to poles or rails, often used alongside the Sailor’s Coil.
Bowline Knot: Known for its fixed loop, the Bowline is a secure option for tying ropes to objects.
Step 1:
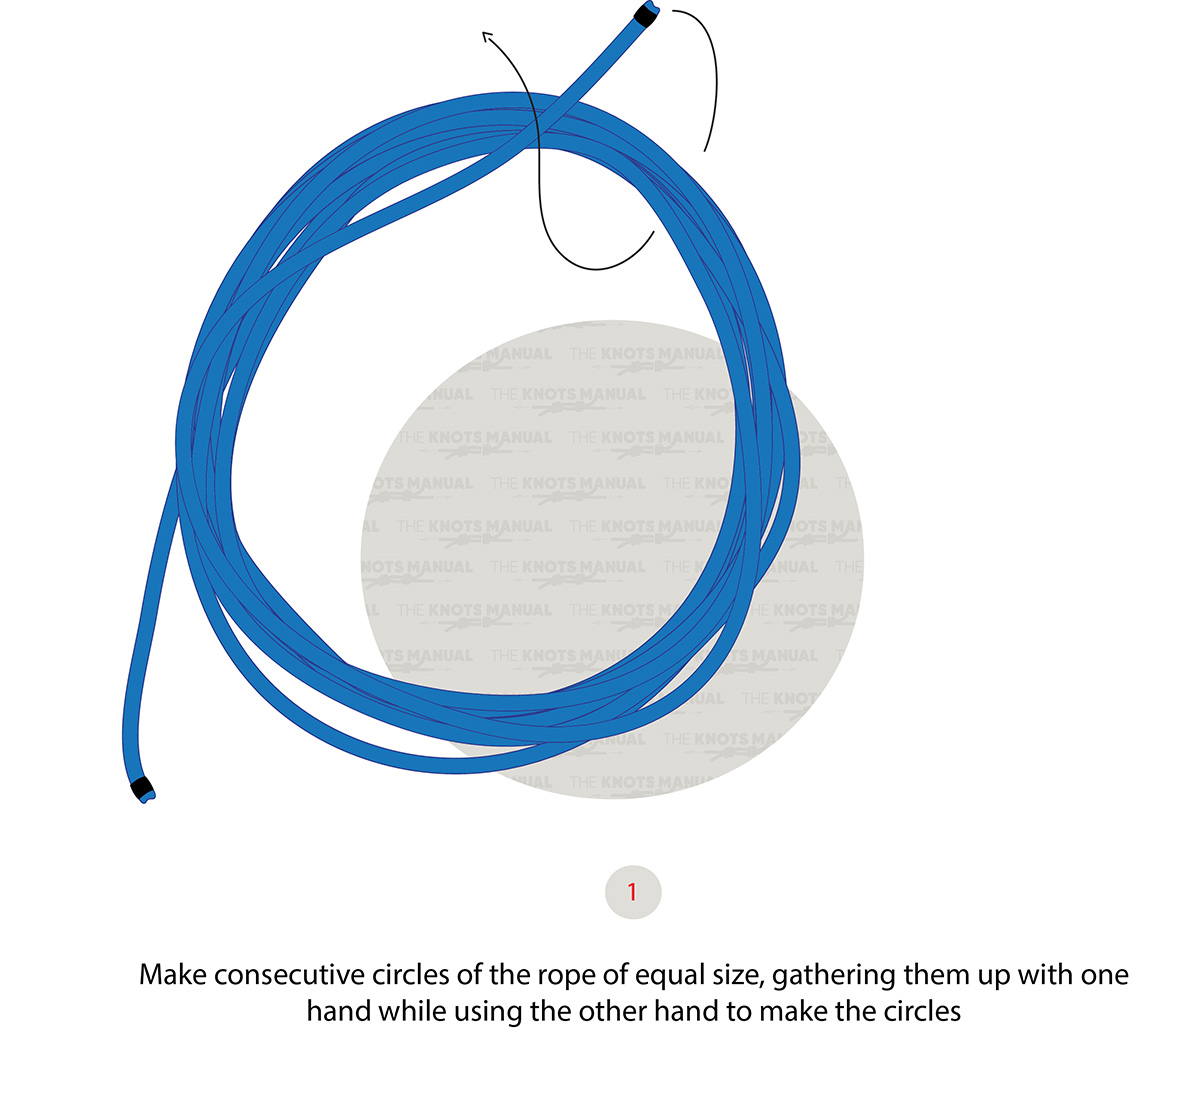
Coil the rope by making consecutive circles of equal size and gathering them up with one hand while making the circles with the other hand.
Step 2:
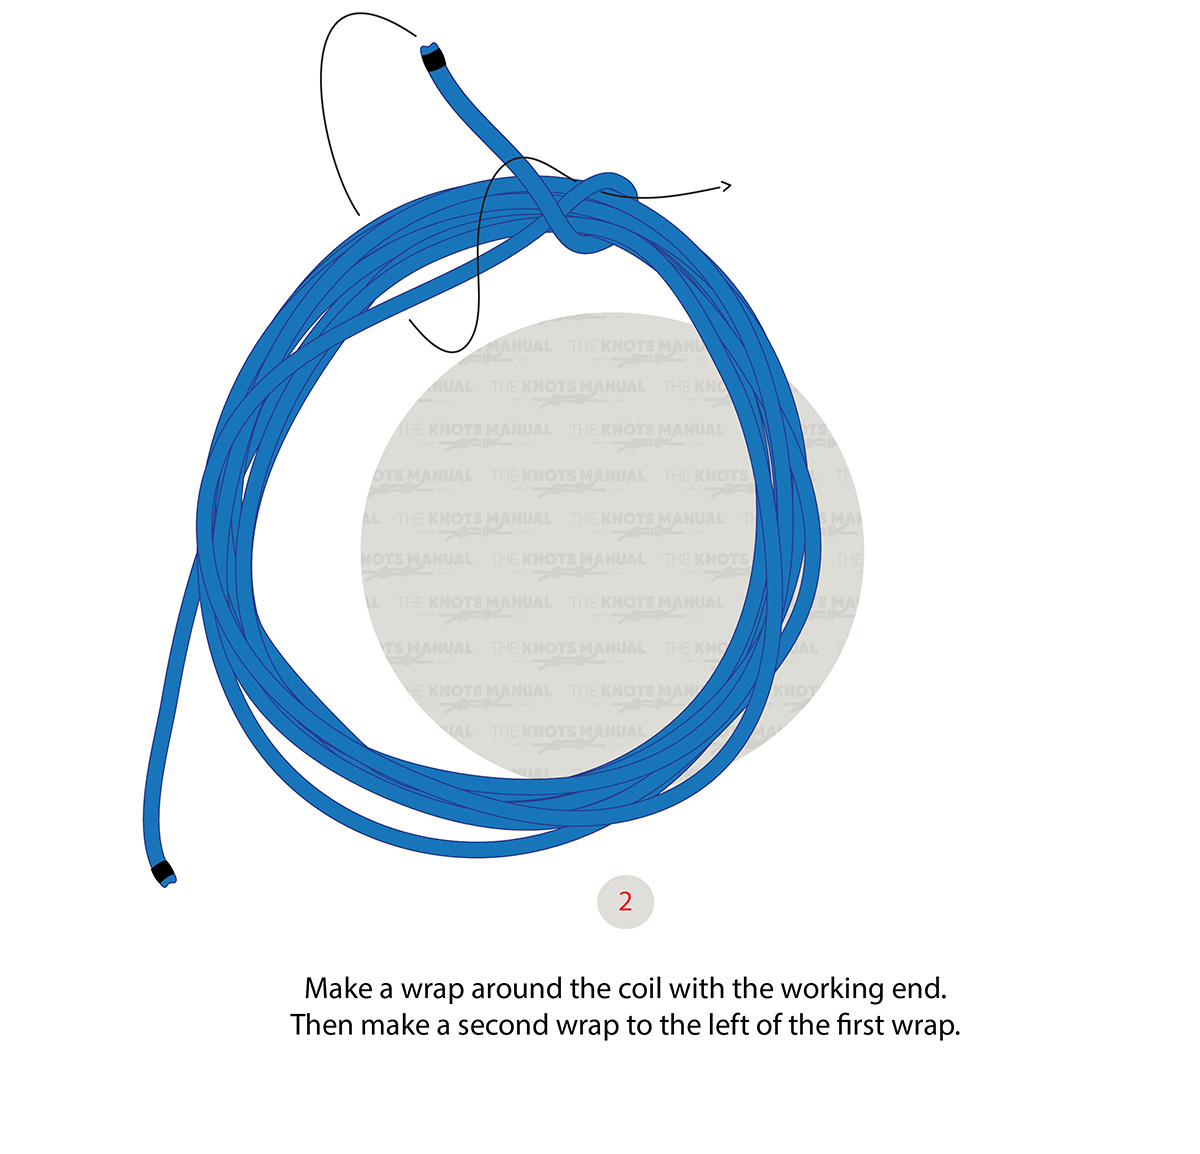
Use the working end to make a wrap around the coil and a second wrap to the left of the first one
Step 3:
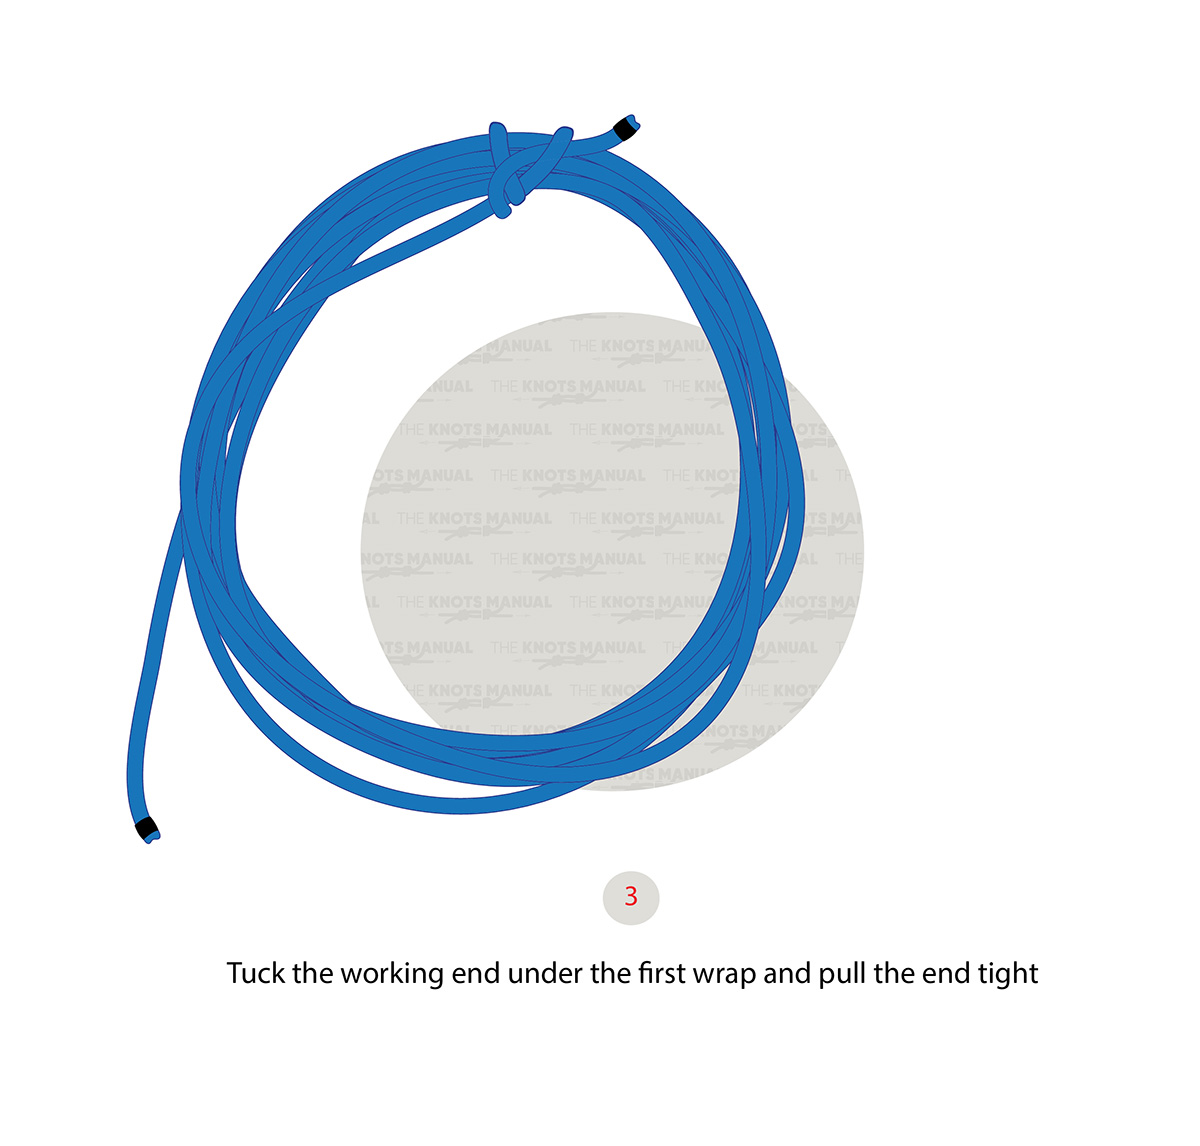
Take the working end and tuck it under the first wrap and pull the end to tighten.


