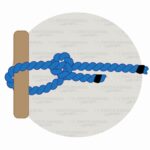
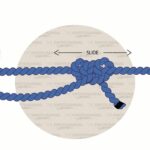
The Slippery Half-Hitch Knot is a straightforward knot that can hold things tightly in place without being hard to undo. From outdoor activities to securing items at home, many people use this knot for a wide range of purposes. Since its design is known for its ability to hold securely under light tension but remain easy to untie, the slippery half-hitch knot is ideal for tasks when you only need to hold something together temporarily.
Slippery Half-Hitch Knot: Quick Tying Guide
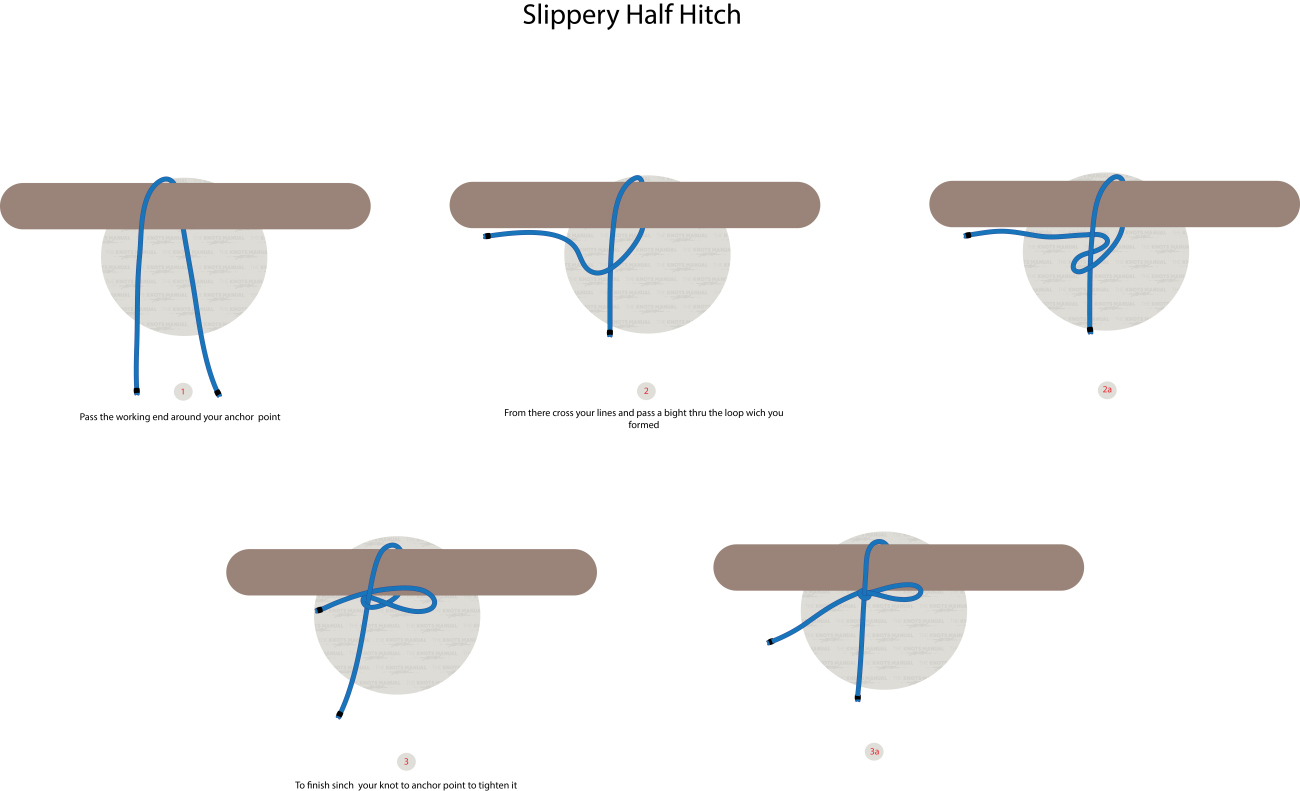
To tie a Slippery Half-Hitch Knot, start by taking the end of a rope or line and wrap around the object you’re fastening to. Form a loop, leaving a small tail. Pass the tail through the loop to create a second loop, then pull it tight. This slip-loop design holds well but can be undone in a single pull.
Why Use a Slippery Half-Hitch Knot?
The Slippery Half-Hitch Knot is a useful knot because it’s simple and effective. Often used for camping, boating, and everyday tasks, the knot holds firmly but can be released quickly when needed. Unlike more complicated knots, this one doesn’t require much skill or strength to tie or untie, making it accessible for beginners and versatile for many uses.
Knots Similar to the Slippery Half-Hitch Knot
Clove Hitch – This knot is often used for securing lines to poles or objects. It holds well under moderate tension but can loosen if not properly tied.
Two Half-Hitches – An extension of the half-hitch knot, providing a more secure hold with two wraps. Commonly used for camping and securing loads.
Taut-Line Hitch – An adjustable knot that works well for lines that need to be tightened or loosened, making it useful for tents and tarps.
Square Knot – A simple and secure knot for joining two ends of a rope that is often used for tying bandages or bundling items together.

Step 1:
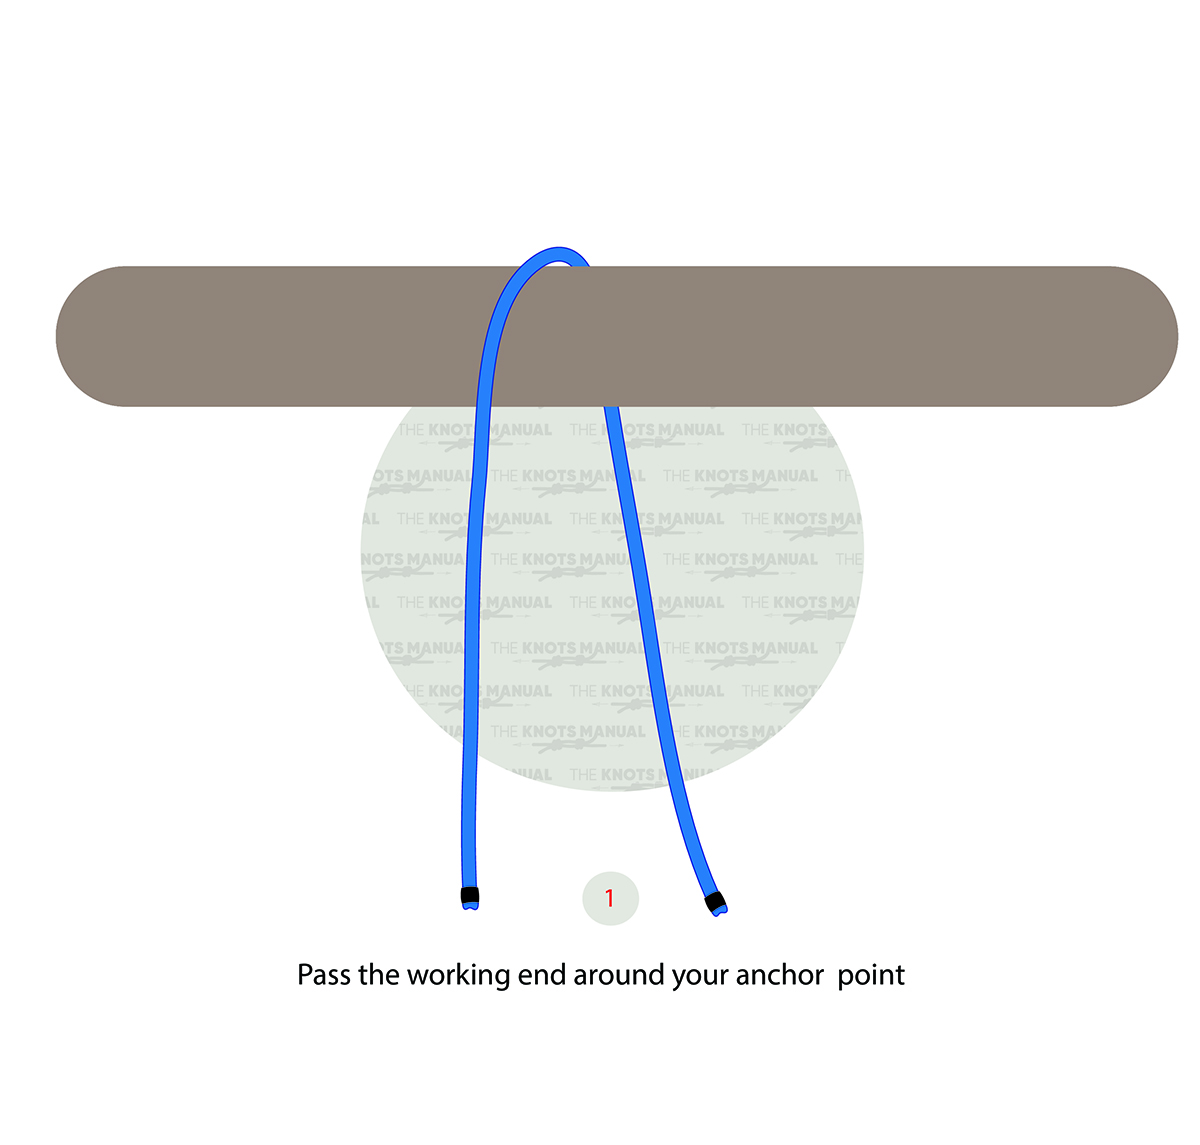
Wrap the rope or line around the object you’re tying to, leaving a short tail end.
Step 2:
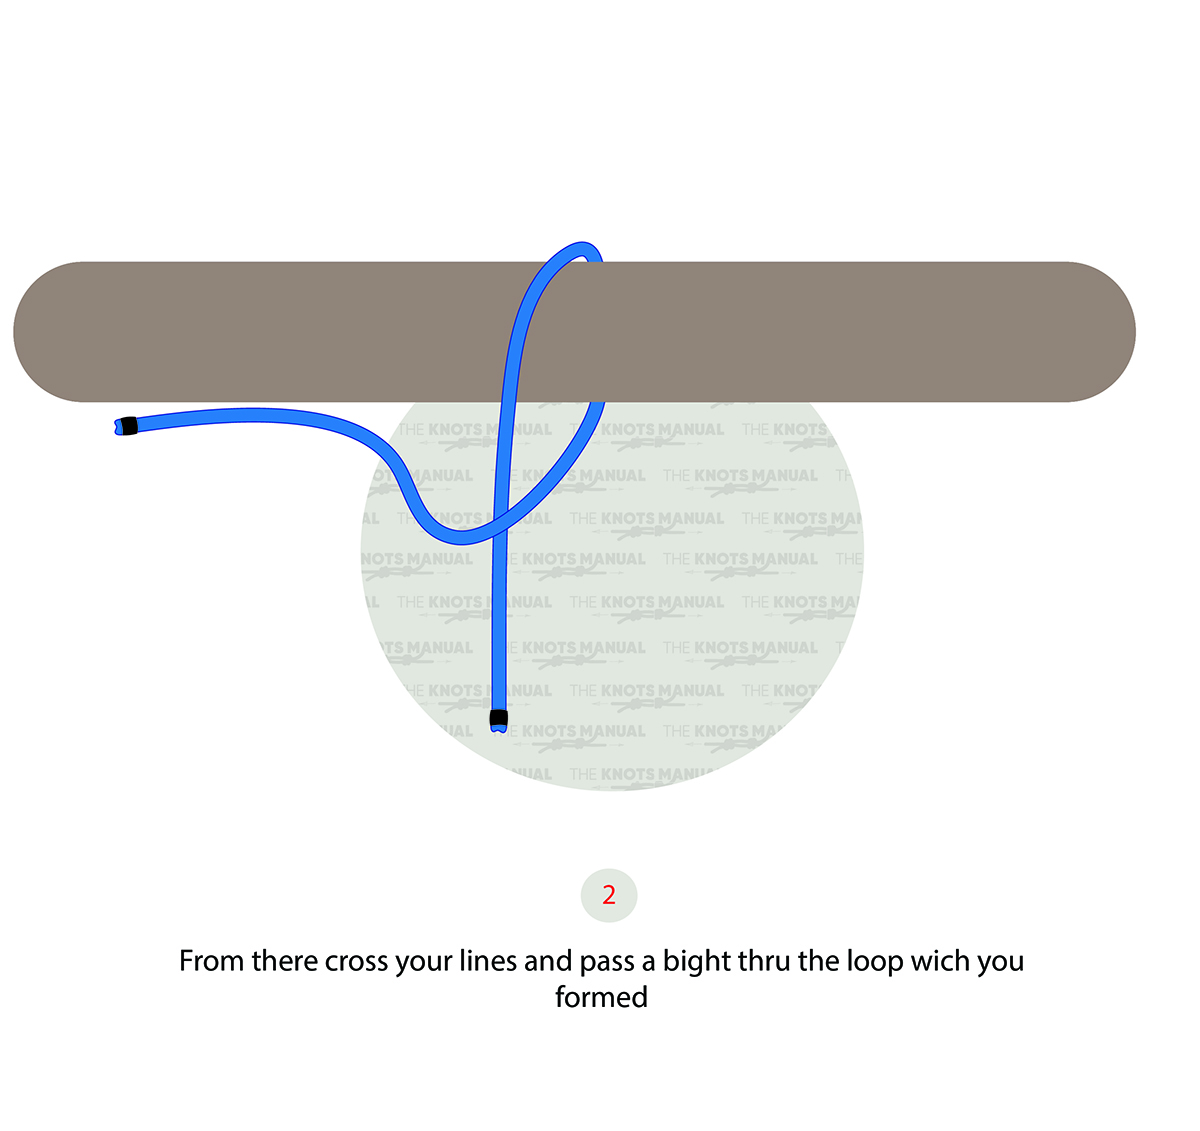
Form a loop with the tail end by crossing the lines.
Step2a:

Pass a bight through the loop created.
Step 3:
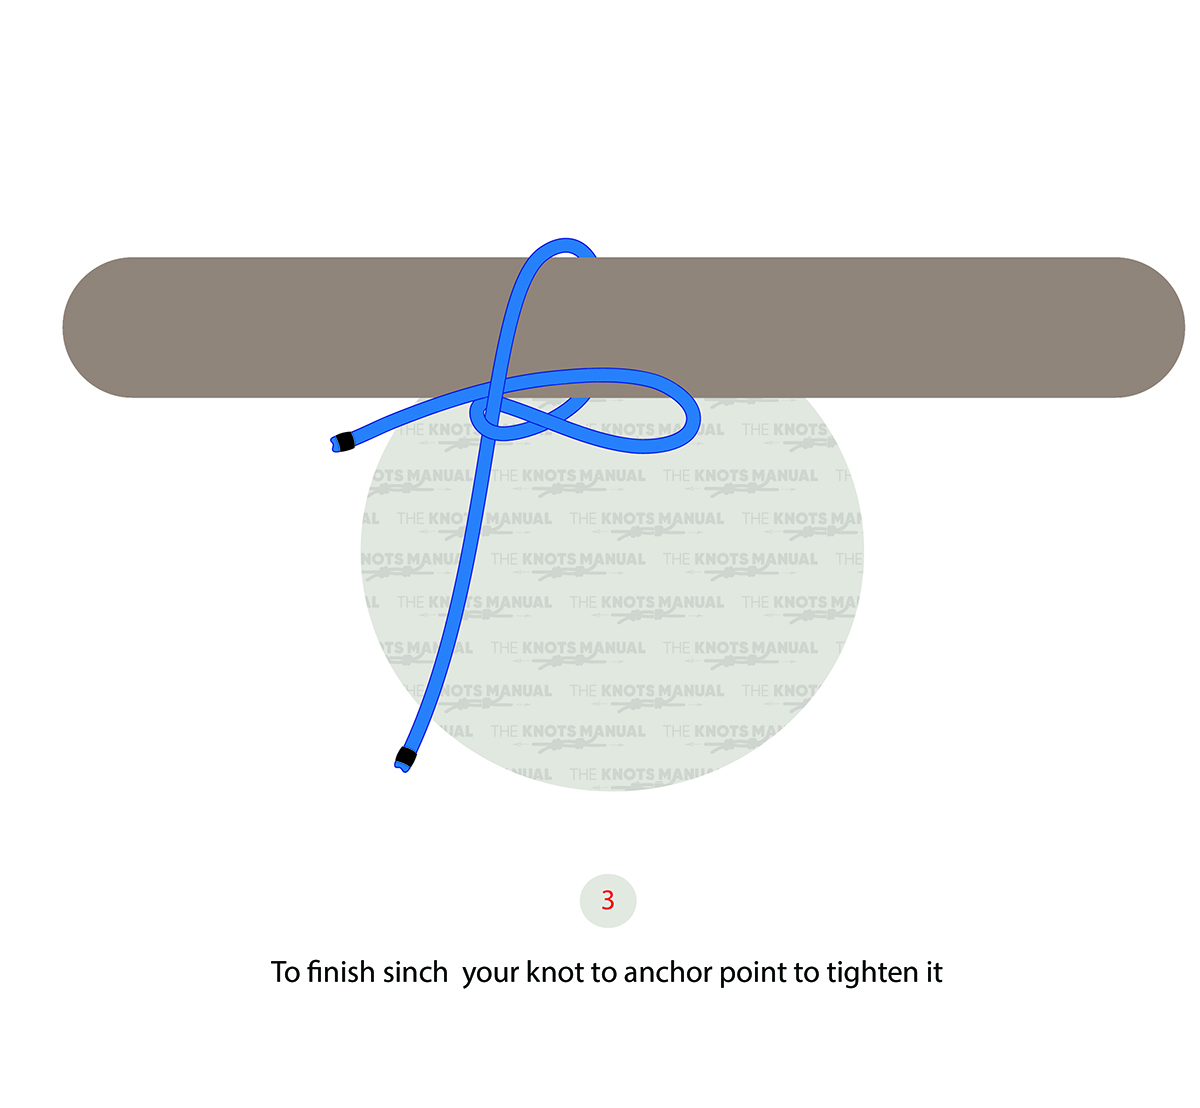
Pull the standing end of the line to tighten the knot.
Step 3a:

Make sure the knot is secure and pull on the tail end to quickly release.
