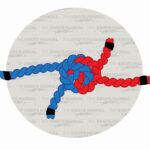
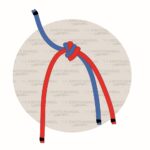
The Harness Bend Knot offers a simple and reliable way of connecting two ropes. Its main benefit is that it can easily be tied under tension.
The name of the Harness Bend comes from using it in a horse saddle. After putting on the horse’s harness, this knot is tied temporarily and loosely. After the horse exhales, the knot is tightened to get rid of the slack.
It has other names as well, like the Parcel Knot or the Parcel Bend.
Quick Guide: Tying the Harness Bend Knot
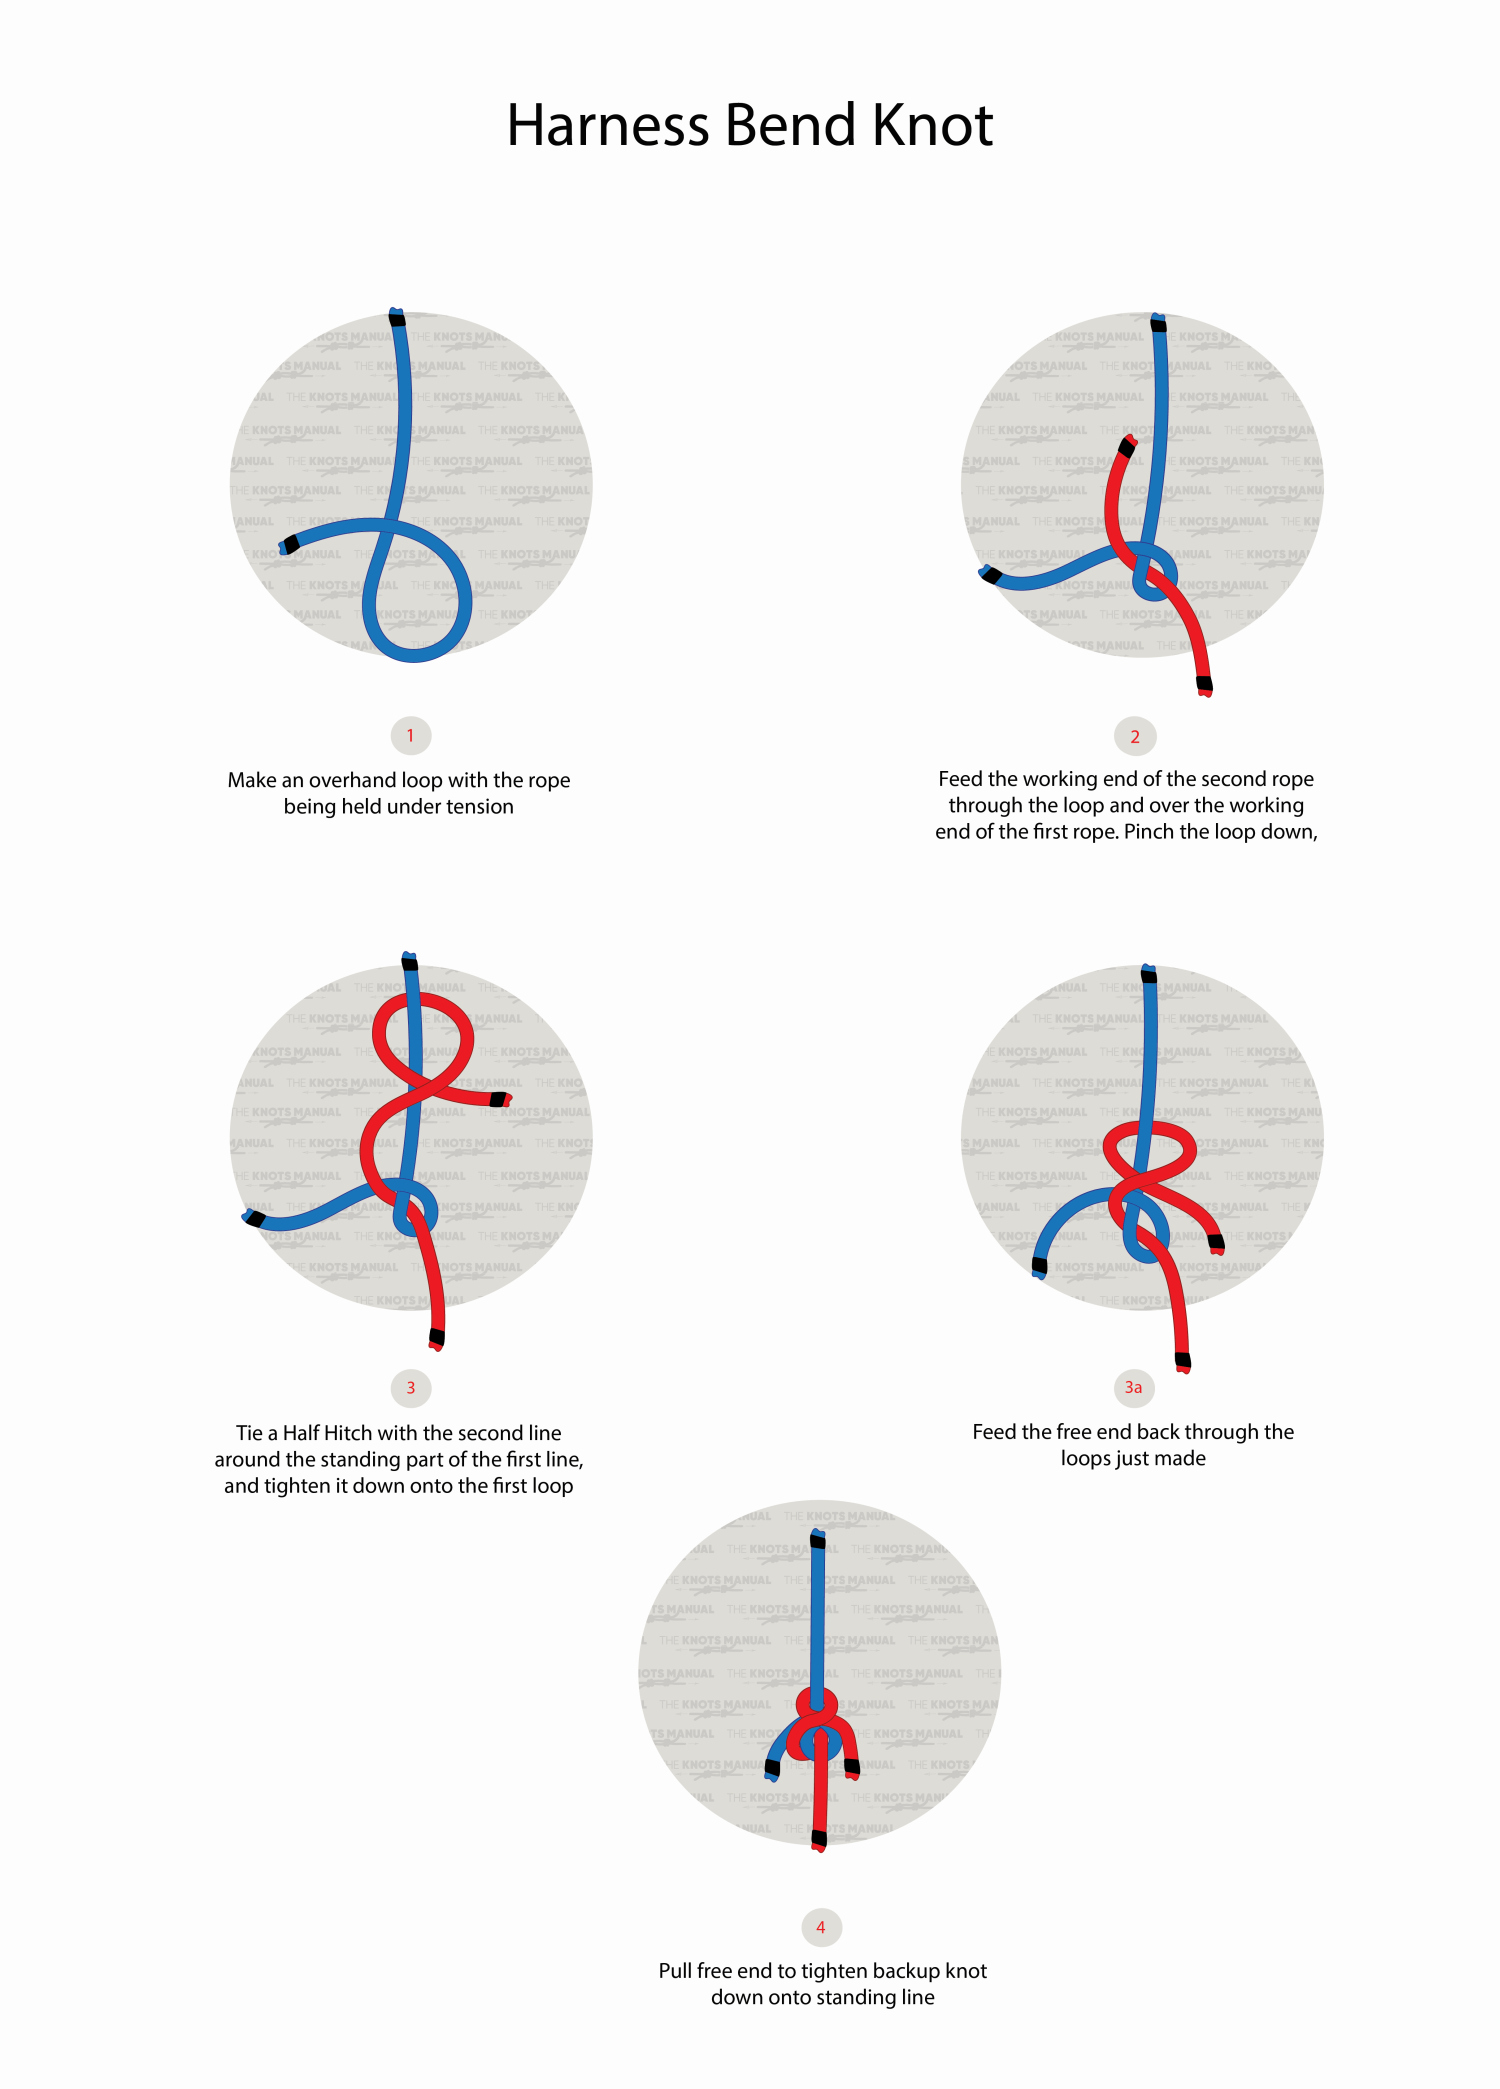
To tie the Harness Bend, create a loop near the end of the first rope. Then pass the end of the second rope through this loop and create another loop around the standing end. Tighten the knot by pulling the standing ends of both ropes.
You should leave the ends of the knot rather long to account for slippage. As you pull on the standing ends, the working ends will shorten until the knot fully sets in place.
It also shouldn’t be used for life-threatening situations, as it isn’t the most reliable bend knot.
Pros and Cons of the Harness Bend Knot
The key benefit of the Harness Bend is that it can be tied under tension. After creating the loop in the first rope, you can keep it tightened with one hand while tying the rest of the knot with your other hand.
It’s also easy and quick to tie. This is beneficial in situations where the rope needs to remain under tension because there won’t be a lot of strain on your hands.
Although it isn’t the most reliable knot, it can withstand a good amount of force without untying. It’s reliable enough for most universal tasks.
And lastly, the Harness Bend is also easy to untie, even after shock loads. The working ends can be easily loosened by twisting the knot.
The main downside of the Harness Bend is that it can untie under shock forces and with intermittent loads. That’s why it should only be used for universal, non-life-threatening situations.
Common Uses for the Harness Bend
The two main uses for the harness bend are to tie a horse saddle and to tie packages. Both of these tasks require the rope to remain under tension, which is what this knot is good for.
But it can also be used anytime you need to connect two shorter ropes. But only use it for simple tasks that won’t involve critical or heavy loads.
Knots Like the Harness Bend
Blood Knot: A very strong bend knot used for connecting two ropes of similar sizes. It’s most commonly used in fishing because it works well with monofilament and slippery ropes. It’s tied very similarly to the Harness Bend, only it consists of 5 loops on each side, instead of a single one. That’s why it’s much stronger but also harder to untie.
Double Fisherman’s Bend: Another strong bend knot that’s very commonly used to connect 2 ropes. It’s also fairly easy to tie but it can jam very badly, not like the Harness Bend.
Zeppelin Knot: A reliable and easy way of connecting two ropes. Although it’s tied very similarly, it’s stronger than the Harness Knot. One benefit is that it is somewhat easy to untie, even after shock loads.
Figure 8 Bend: This knot offers a reliable way of connecting two ropes. It’s stronger than the Harness Bend and also easy to untie. It can also be reinforced with Backup Knots to make it more reliable.
Carrick Bend: A similarly-strong bend knot compared to the Harness Bend. It’s also similarly easy to untie and it also looks very similar in structure. It’s most commonly used with heavier ropes because it doesn’t involve any tight angles.
Step-By-Step Guide: How to Tie the Harness Bend
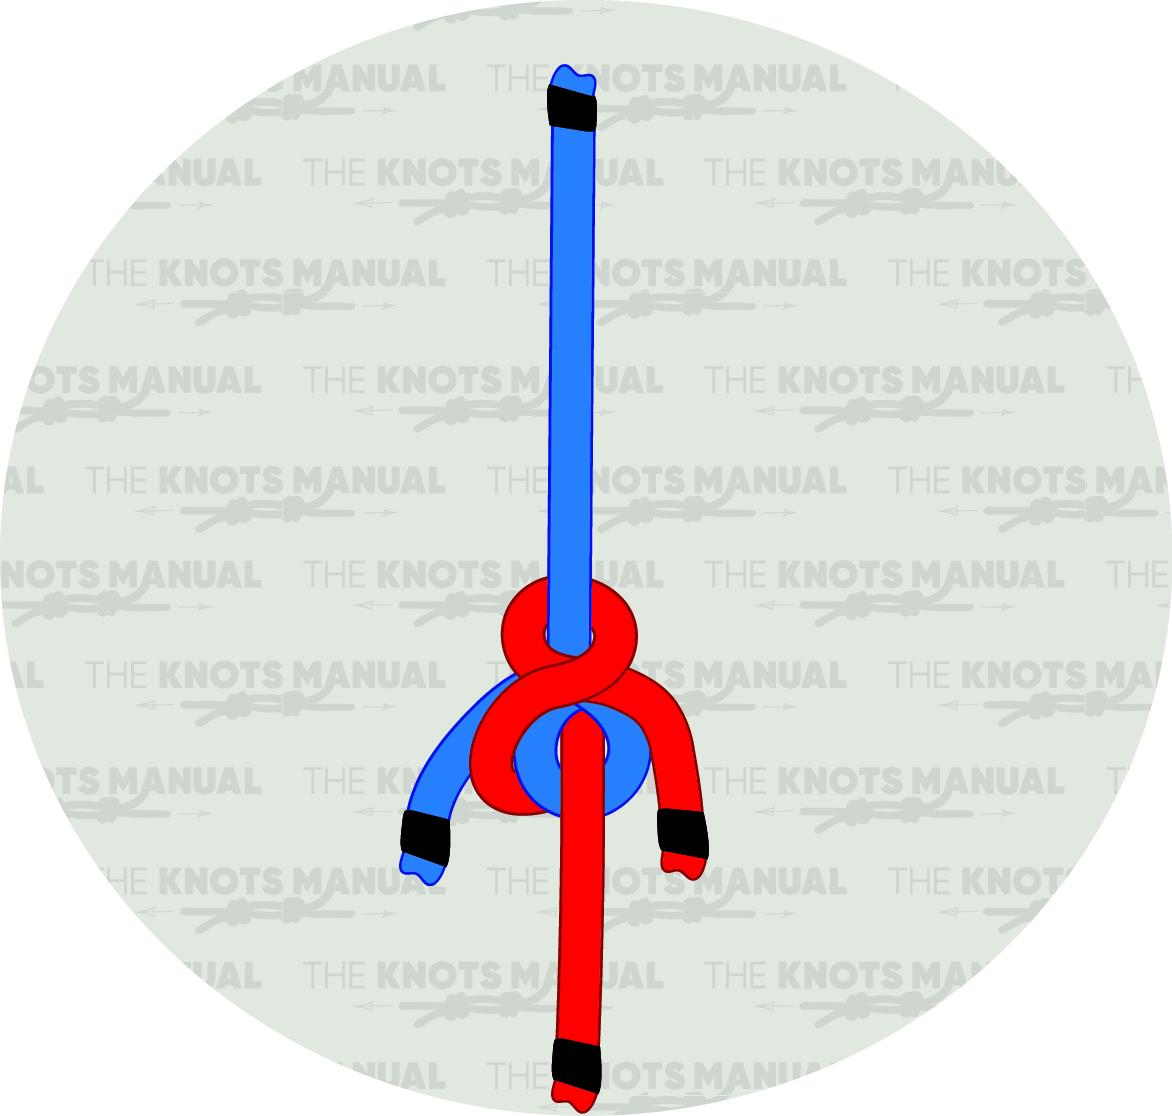
A step-by-step guide on how to tie the Harness Bend.
Step 1:
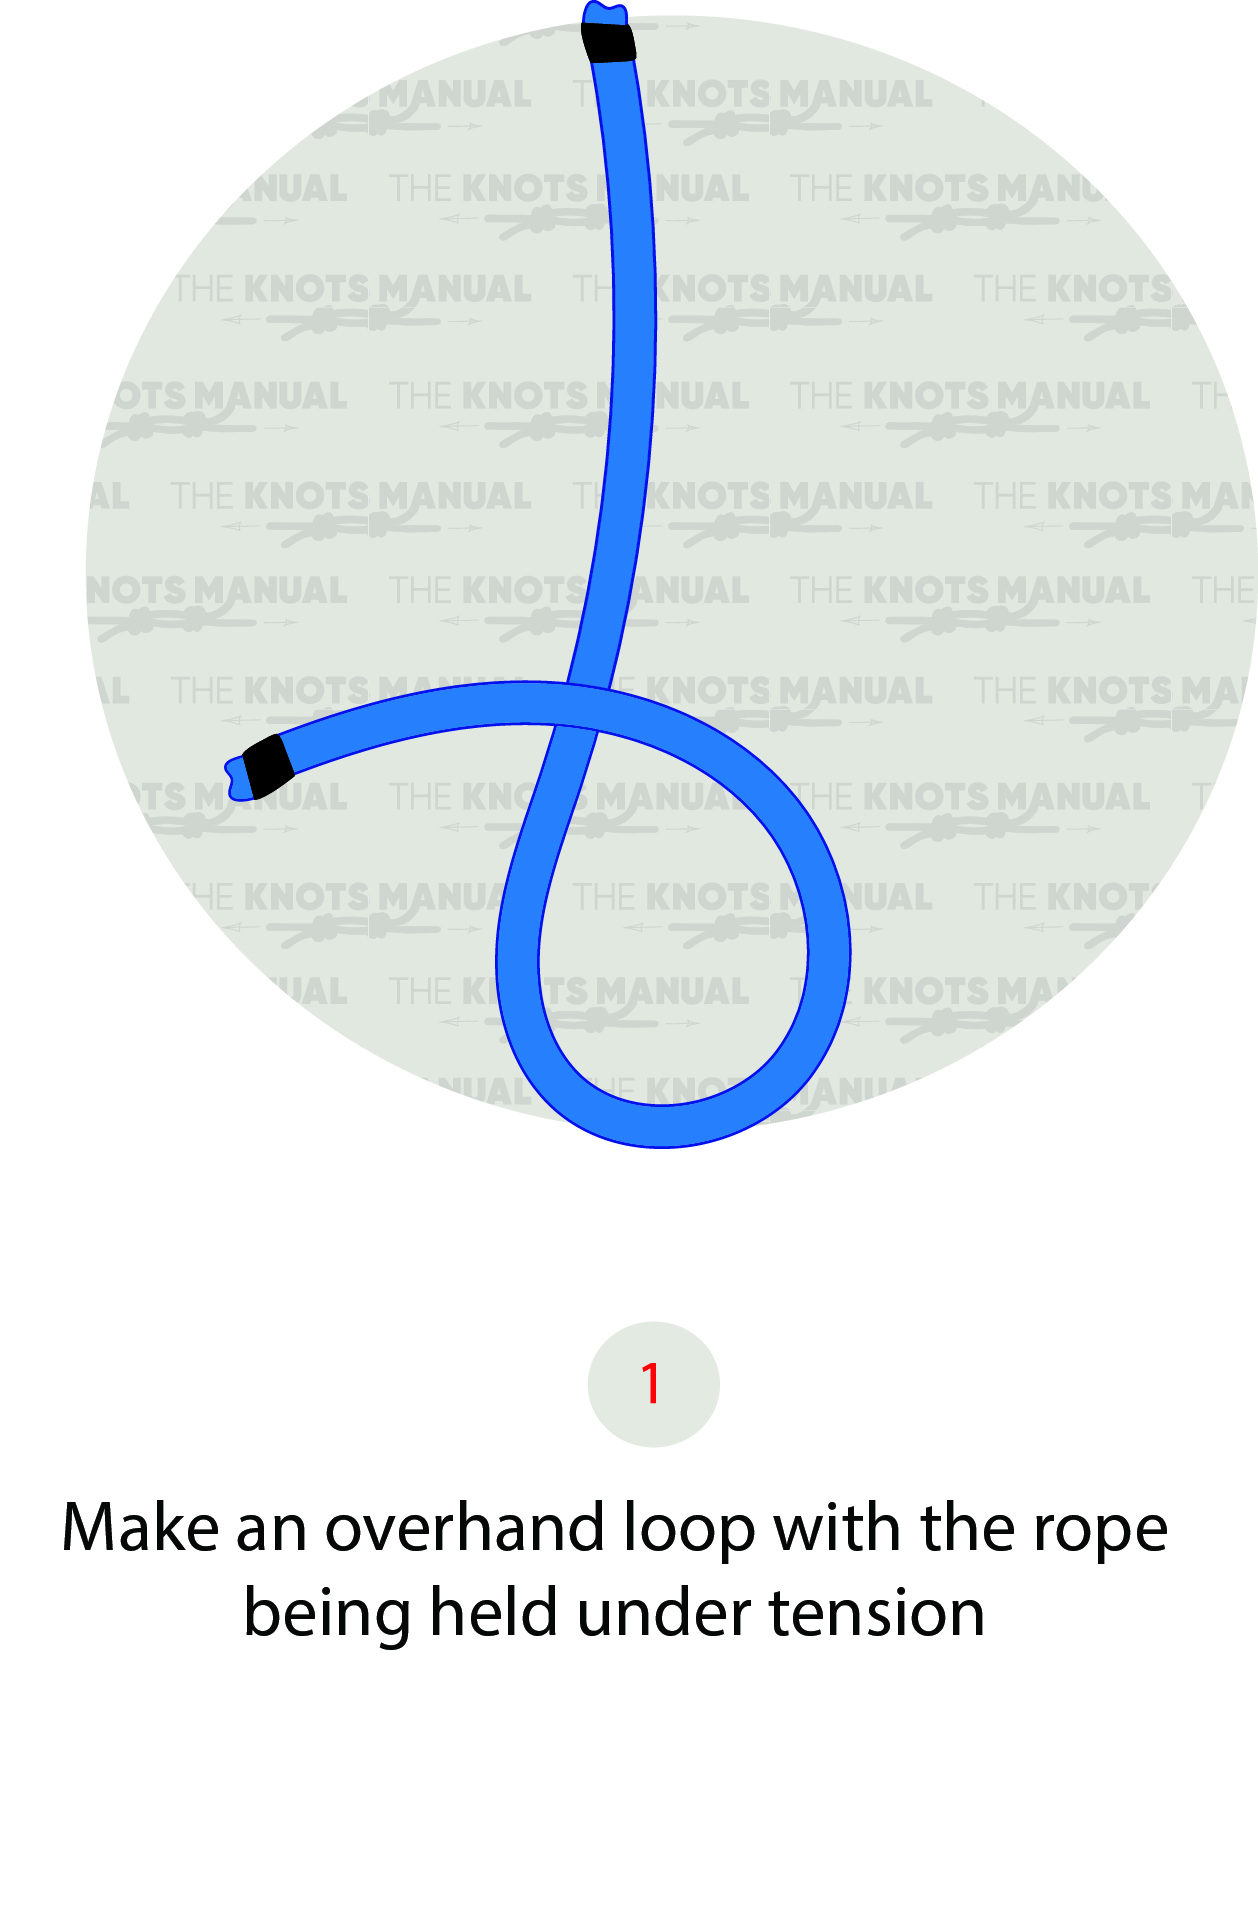
Create a loop near the end of the first rope.
Step 2:
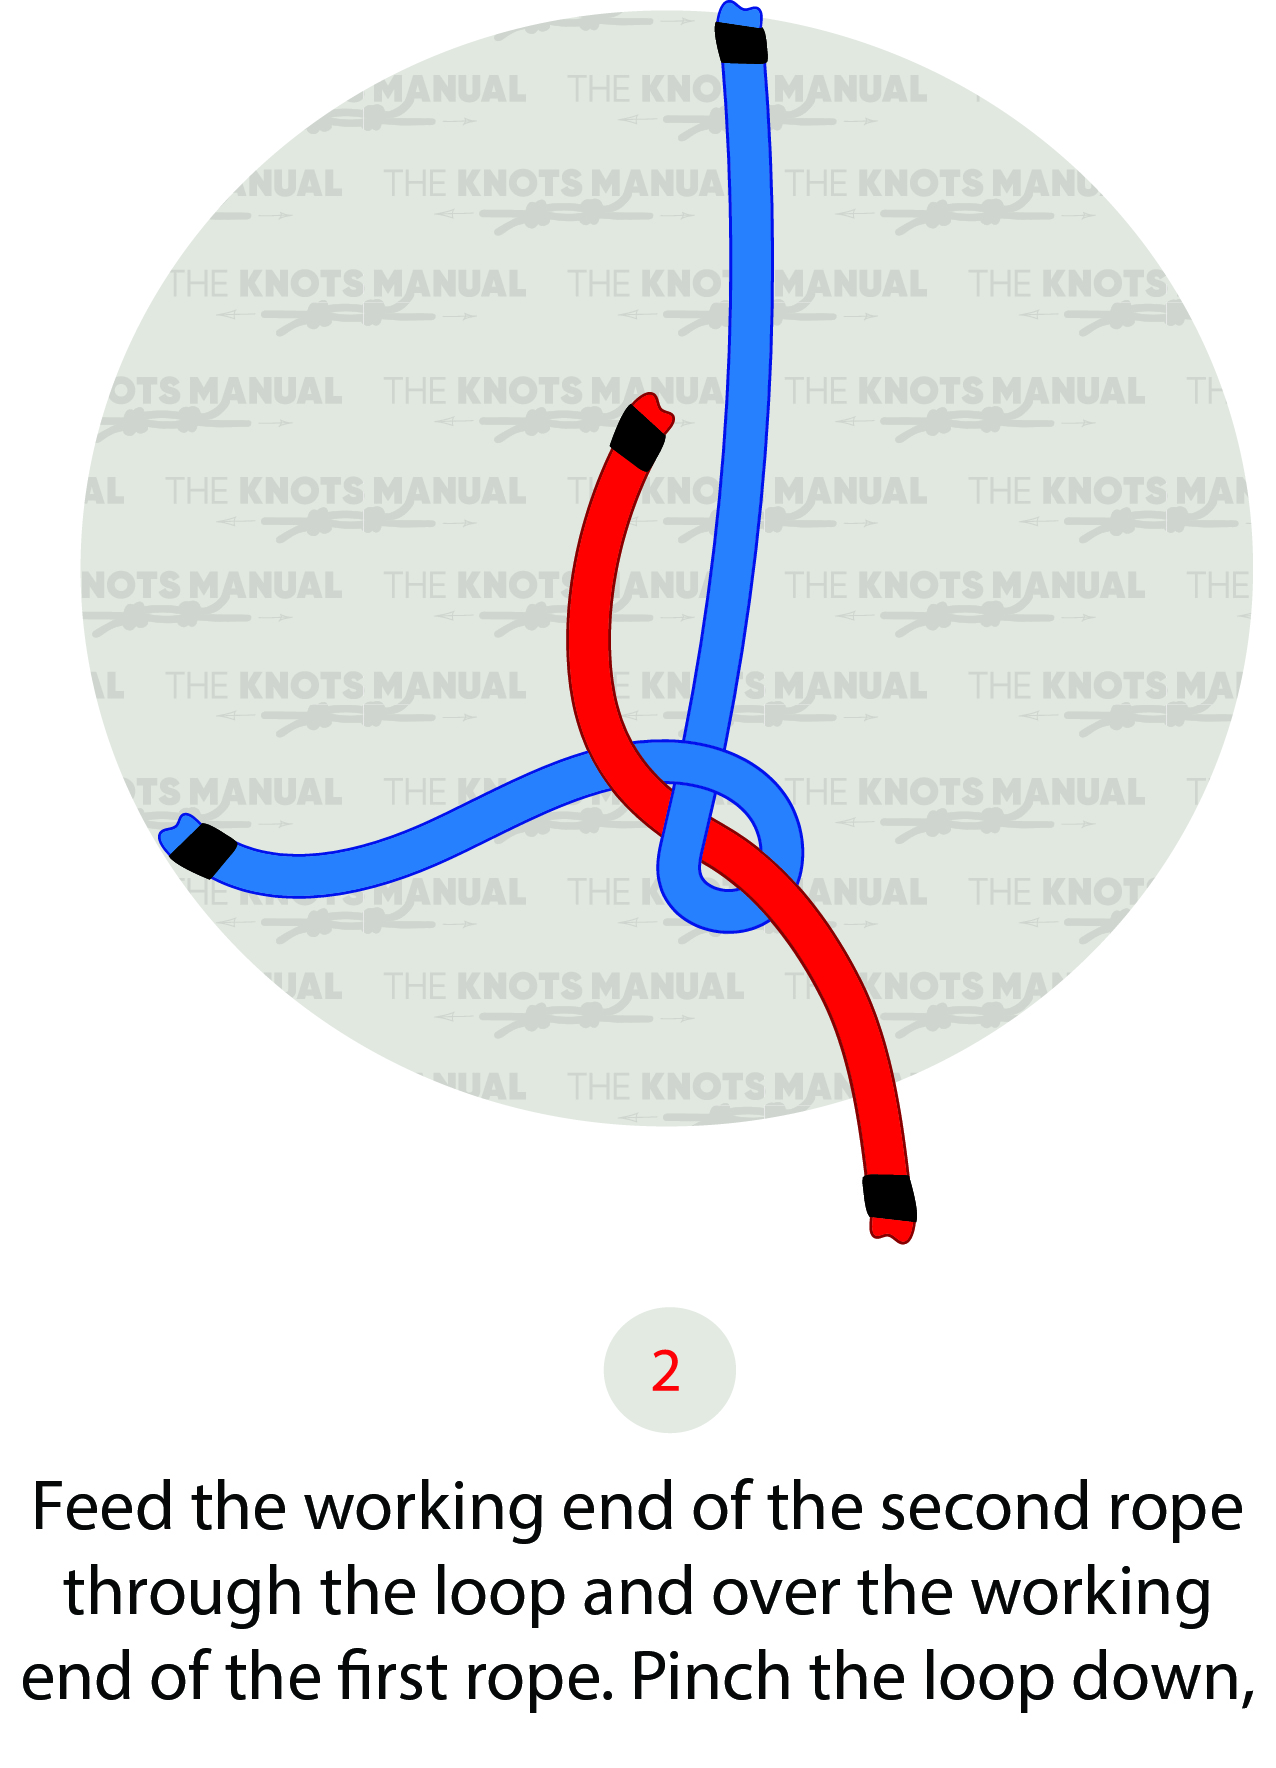
Pass the working end of the second rope through this loop and over the working end of the first rope.
Step 3:
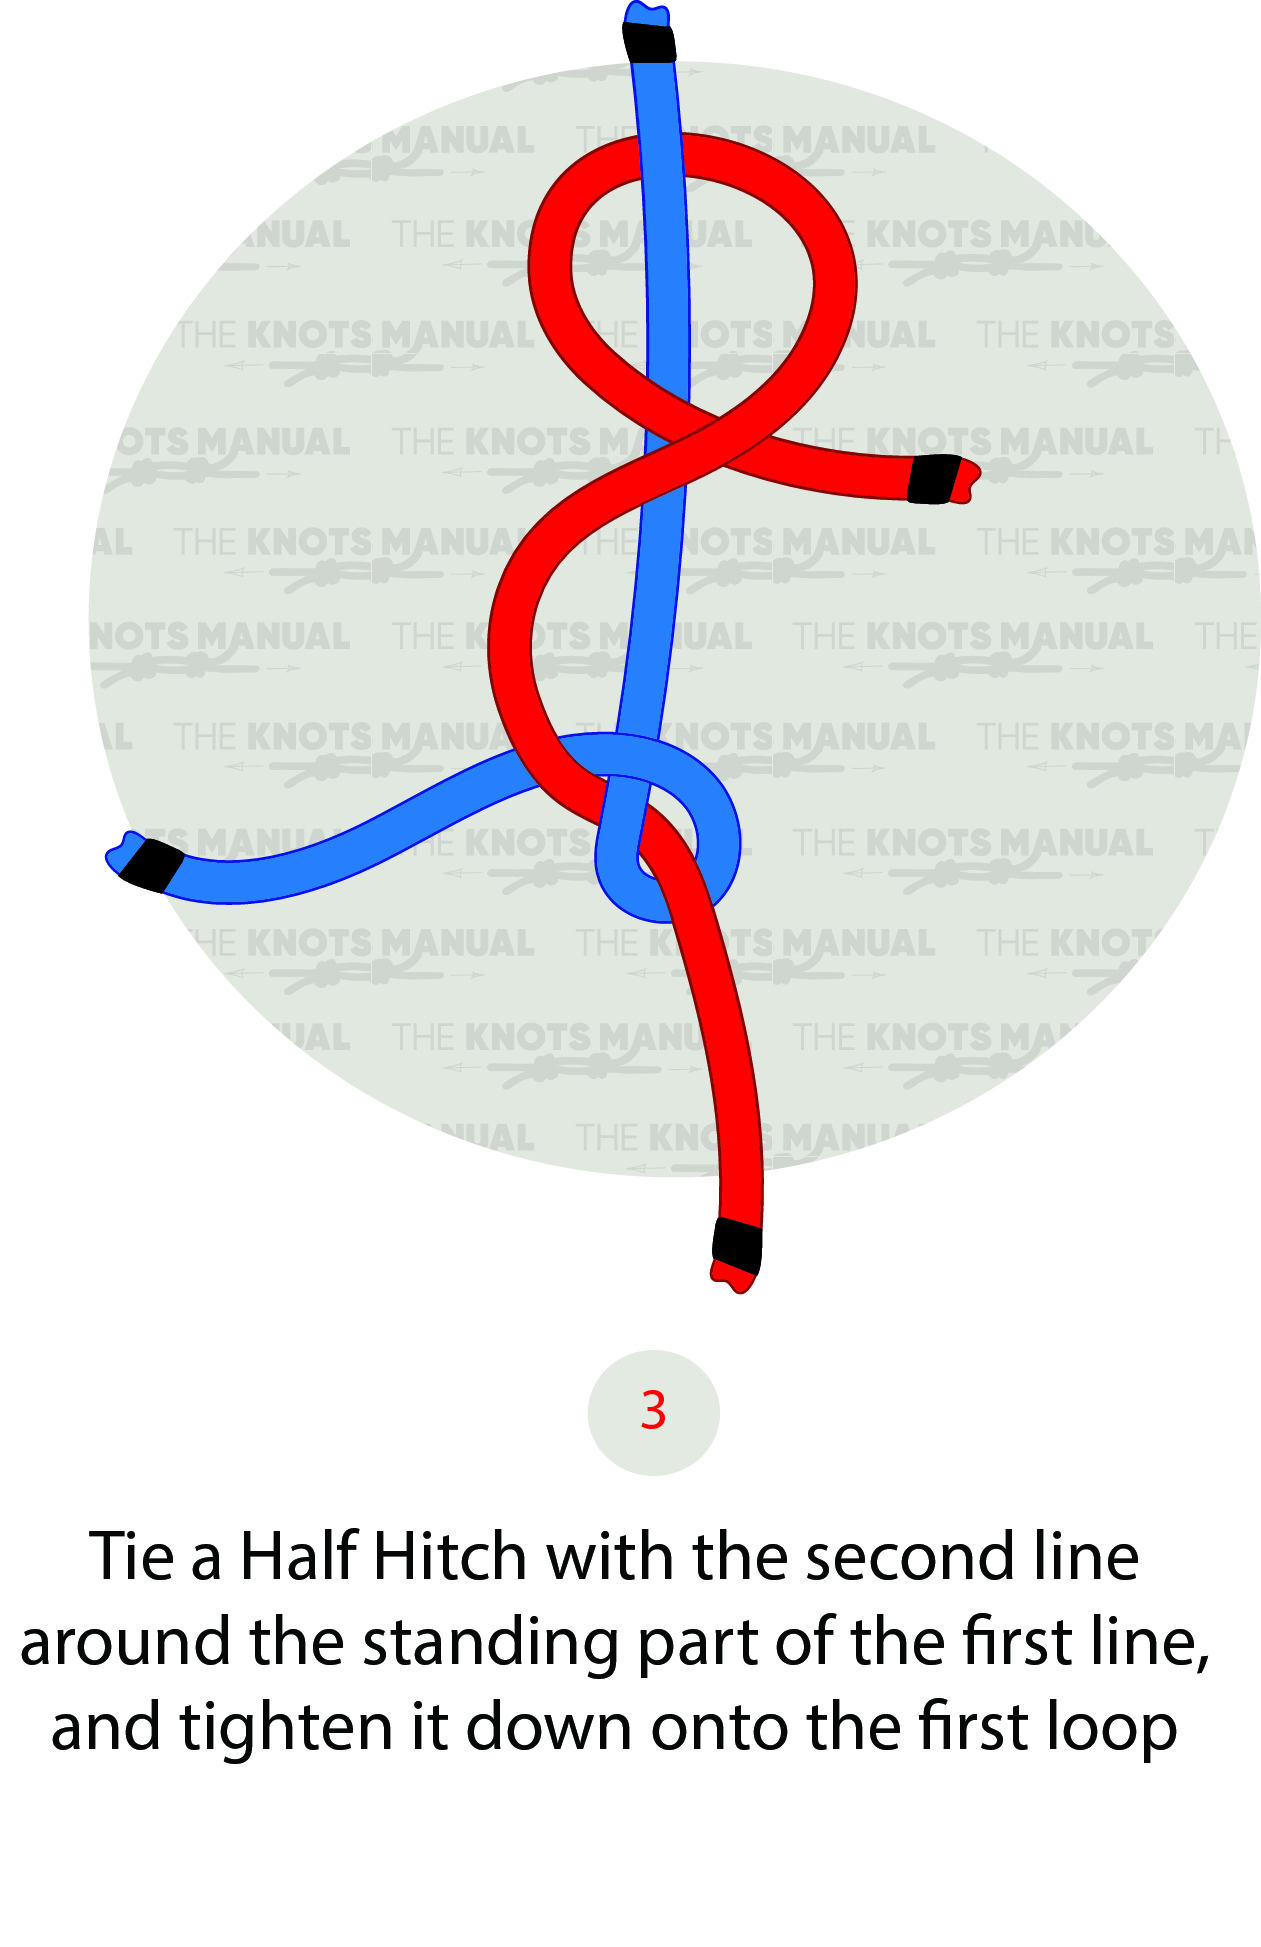
Tie another loop around the standing end of the first rope.
Step 3a:
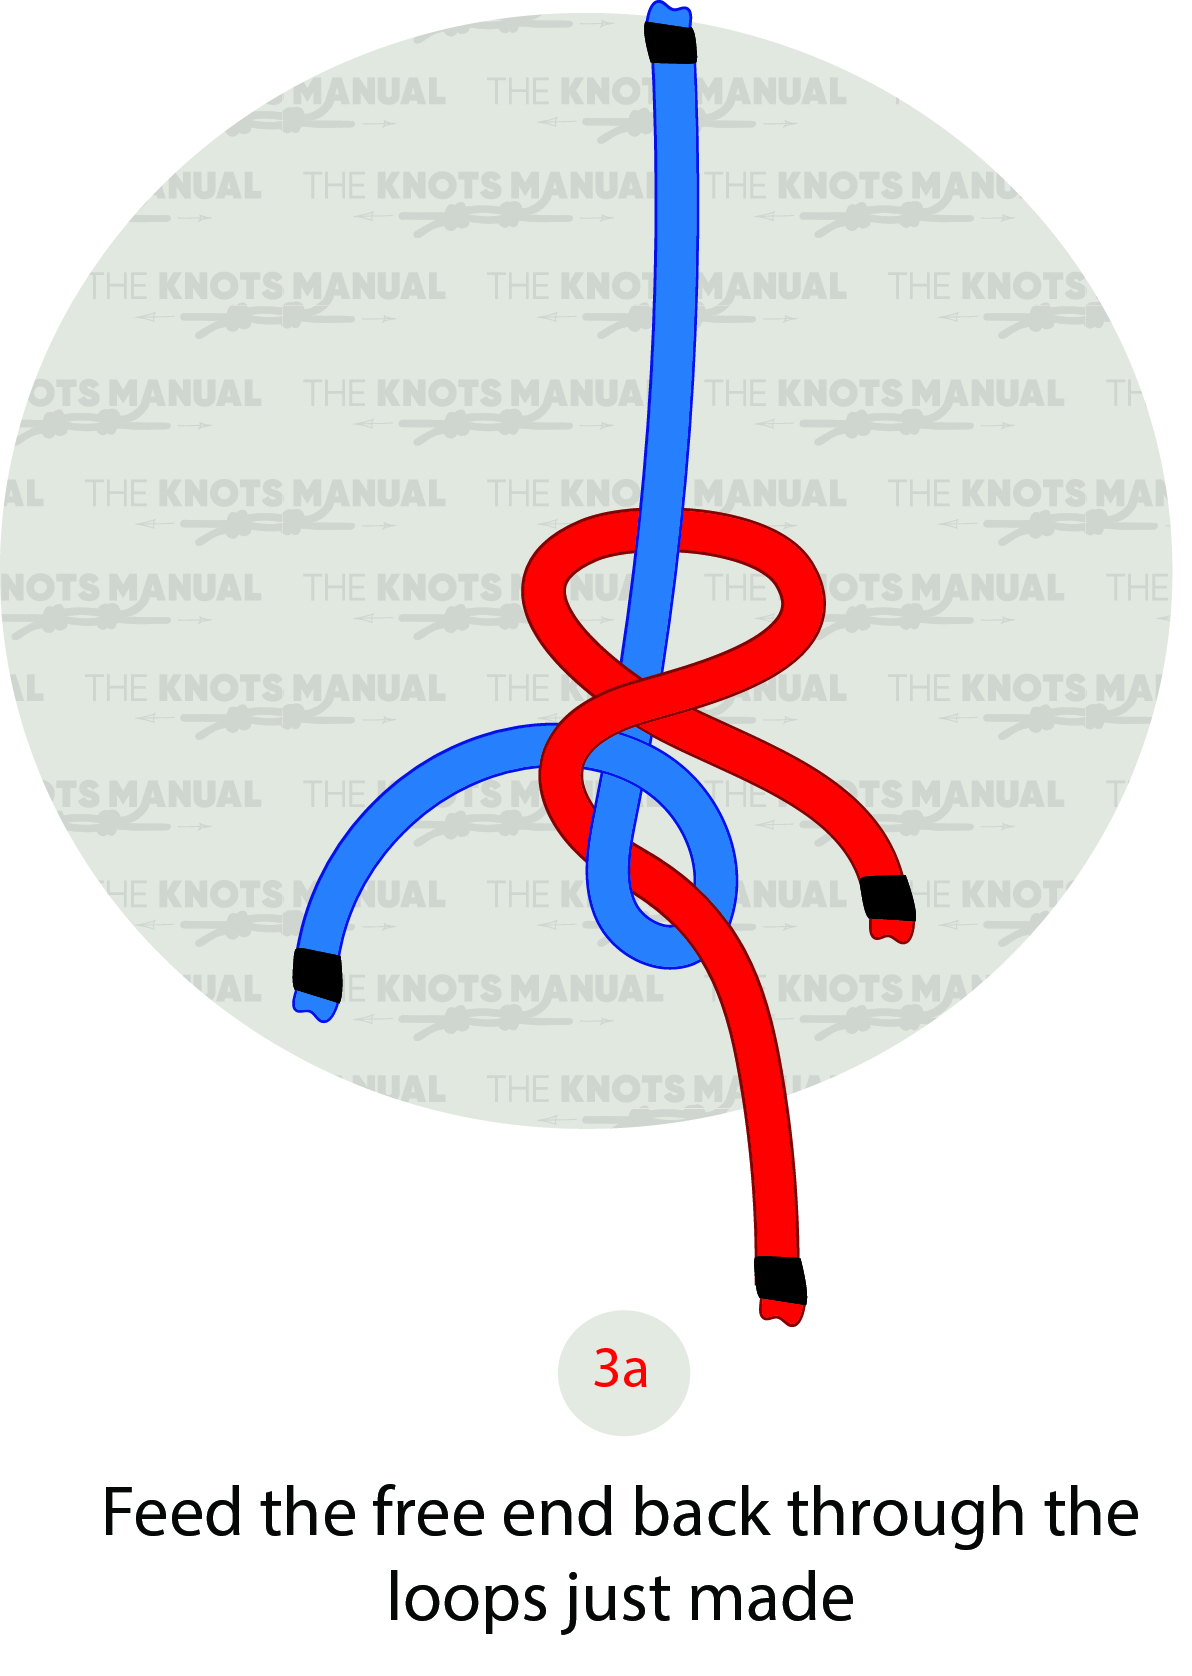
Tighten the knot by pulling the stranding ends in opposite directions.
Step 4:
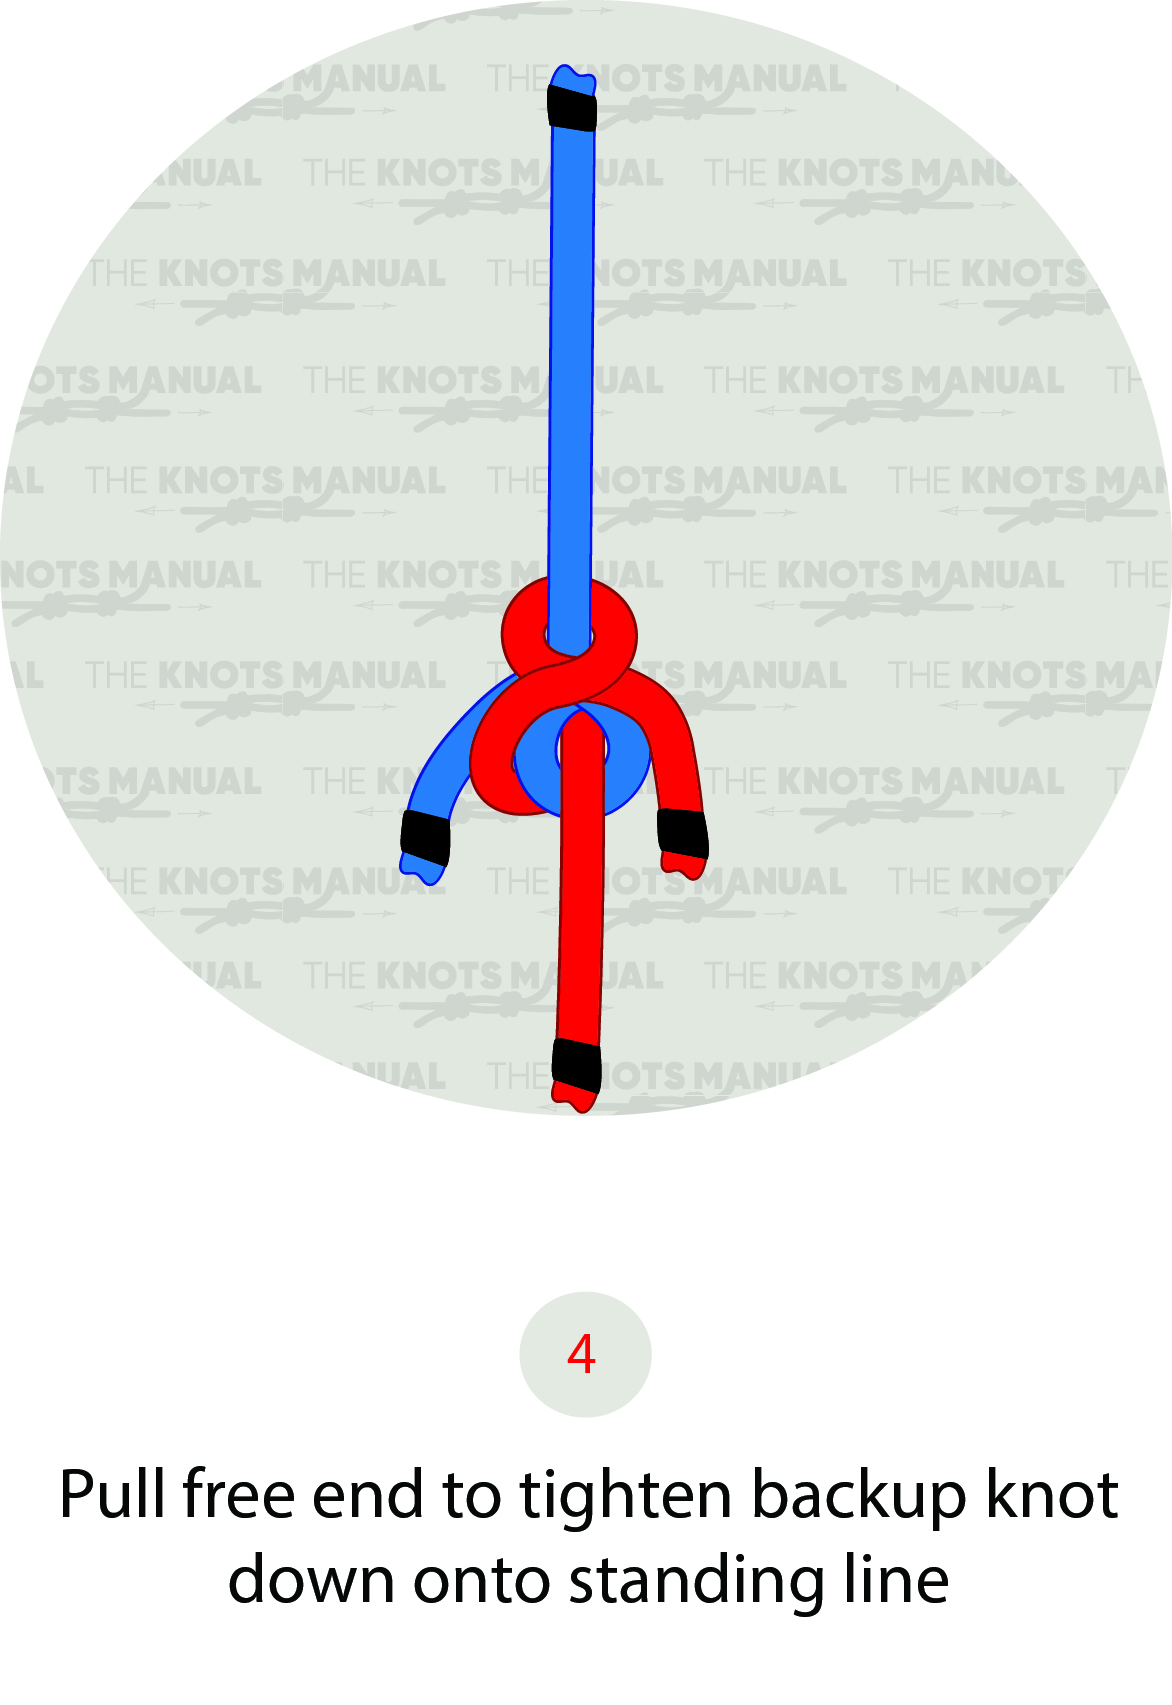
The Harness Knot is finished.
