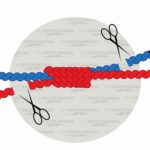
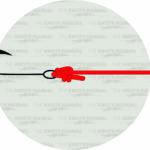
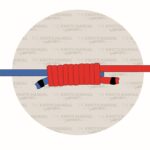
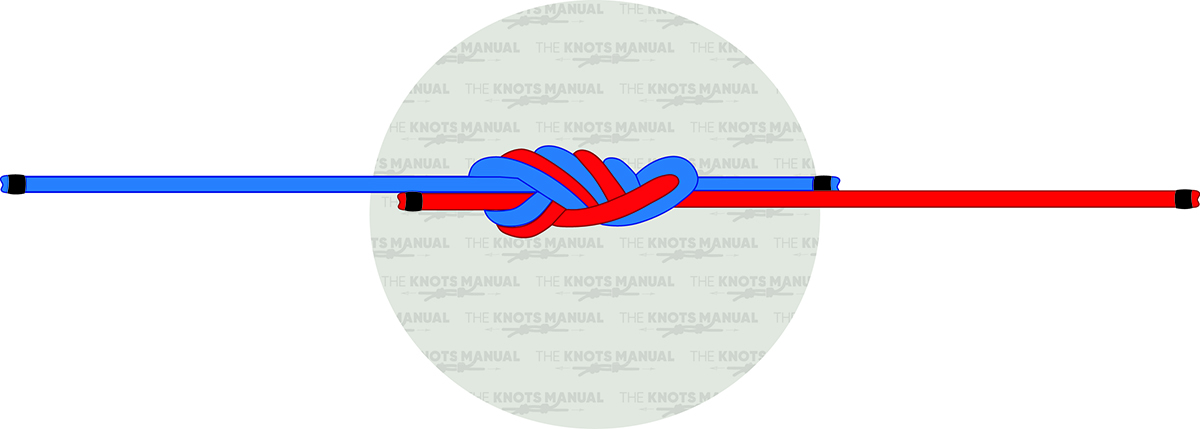
An Orvis Tippet Knot connects two lines of different diameters, such as a tippet and a leader. Many fly fishermen use this knot due to its reliability and strength.
The CEO of Orvis, Perk Perkins, created the Orvis Tippet Knot based on the Orvis tippet-to-fly knot.
How to Tie an Orvis Tippet Knot
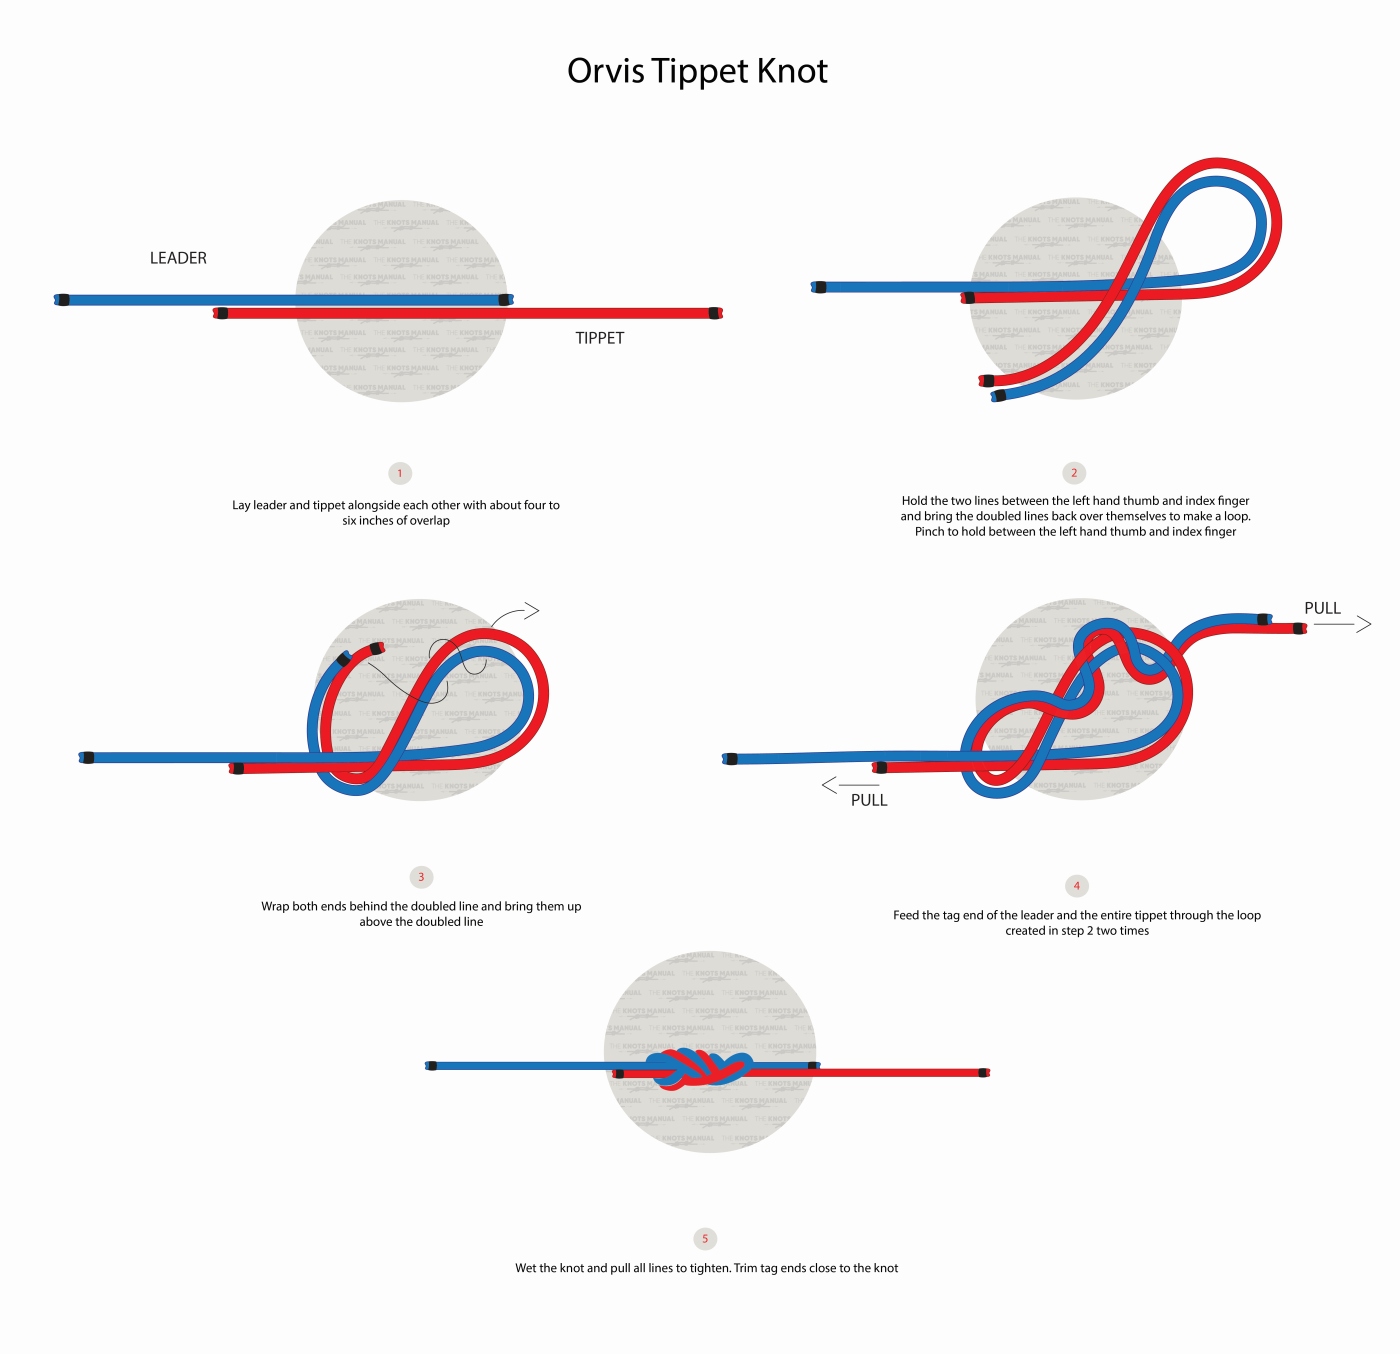
To tie an Orvis tippet knot, hold the leader and the tippet in your right hand, overlapping one another by about four to six inches. Hold both pieces as if they are one. Create a loop the size of a quarter. Next, take the two ends and wrap around the loop. Bring the two ends back through the loop twice. Moisten the knot and pull at both ends to tighten.
Why Use the Orvis Tippet Knot?
Despite its strength, the Orvis Tippet Knot is easy to master. It’s popular for fly fishing, and many fishermen find it easier to tie than Blood Knots and more reliable than Surgeon’s Knots. However, it requires a lot of material, and you must detach the spool before constructing the knot.
Knots Similar to the Orvis Tippet Knot
Surgeon’s Knot -A Surgeon’s Knot connects two lines of similar diameter, creating a double overhand knot. The double knot creates friction, decreasing the chance of the knot loosening.
Blood Knot – The Blood Knot is ideal for fly fishing due to its strength. You can use it to attach two lines of a similar diameter.
Double Turle Knot – Invented in the 1800s, it’s popular among fly fishermen due to its lack of slipping. Use it to attach a fly or a hook to the leader line.
Uni Knot – The Uni Knot is a multi-purpose fishing knot used in angling. It works with most fishing lines, including braided and monofilament.
Step 1:
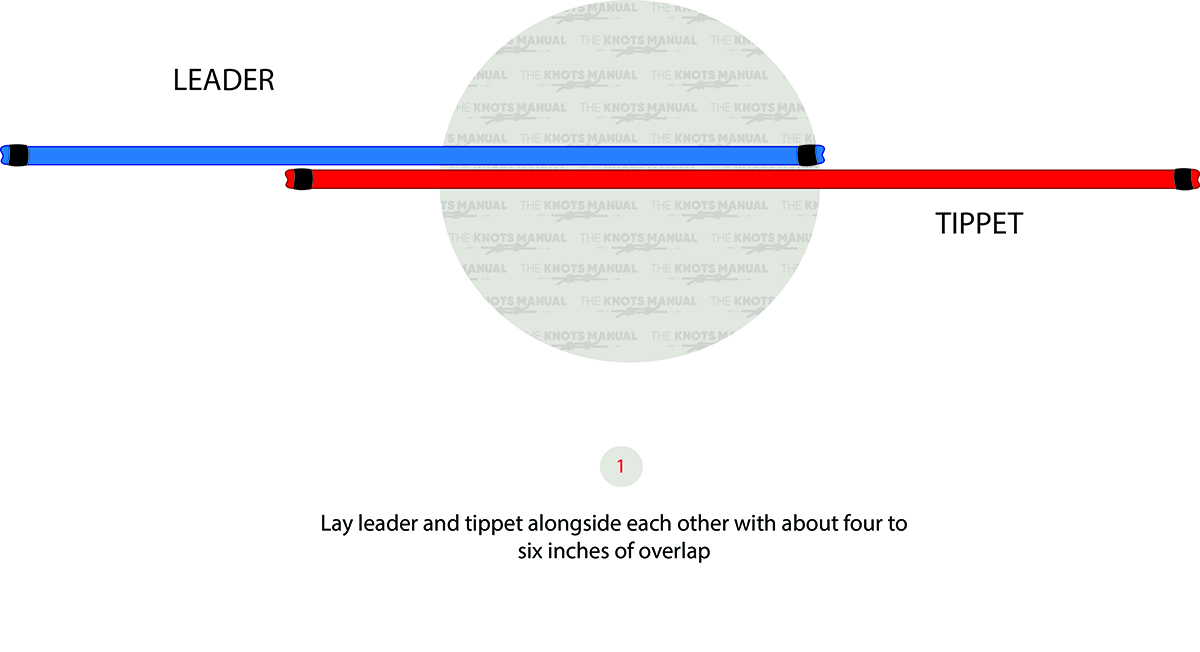
Place the leader and tippet alongside each other, ensuring there is about four to six inches of overlap.
Step 2:
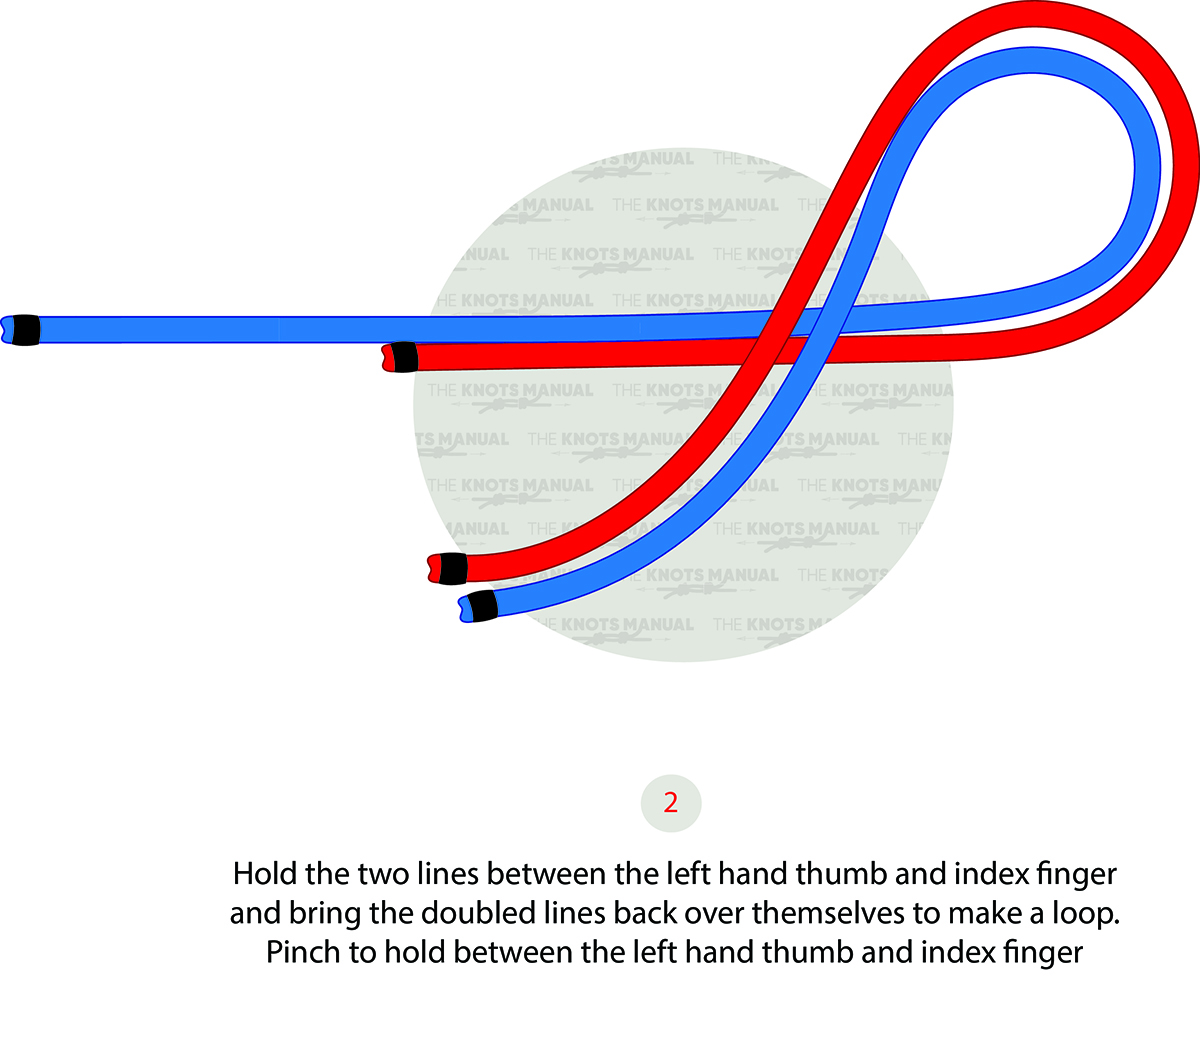
While holding the two lines with your thumb and index finger, bring the double lines back over to create a loop. Pinch the loop using your thumb and index finger.
Step 3:
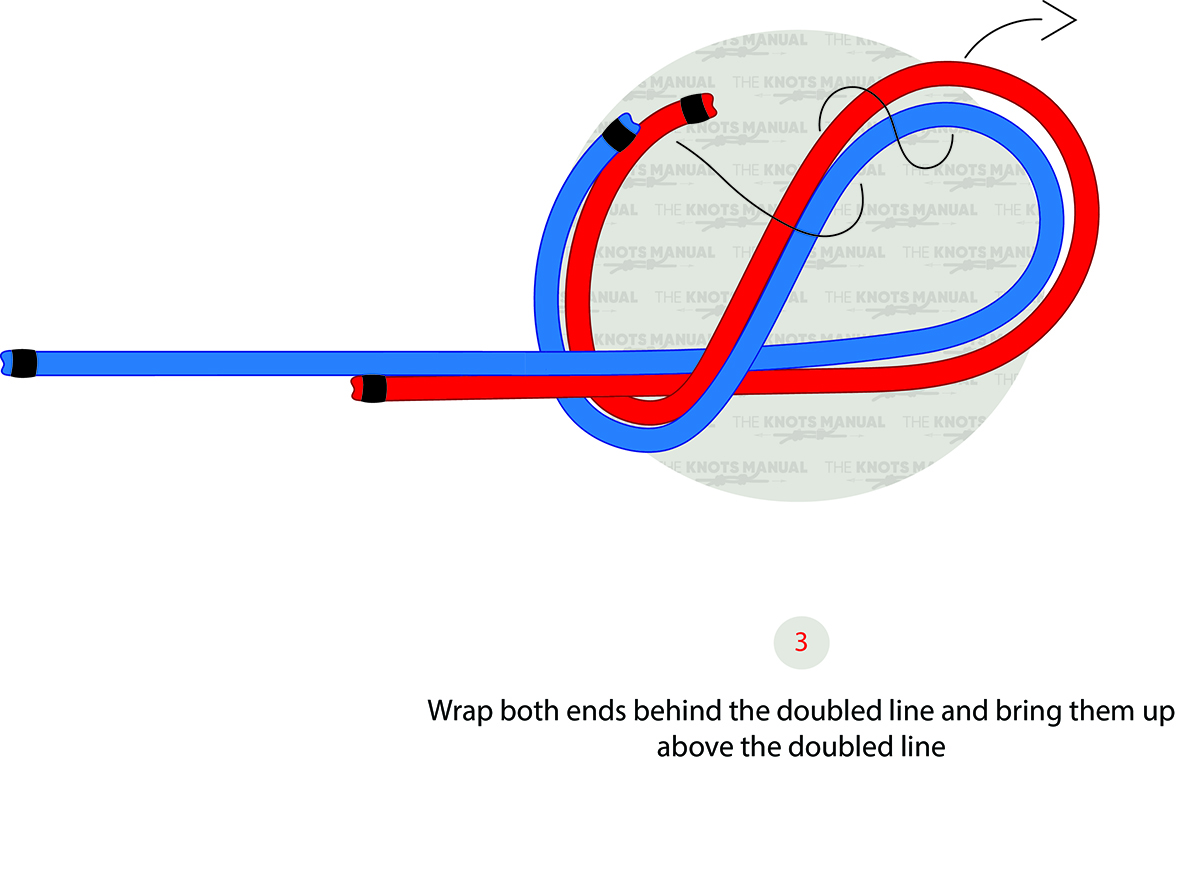
Twist both ends behind the doubled line and bring them above the double line.
Step 4:
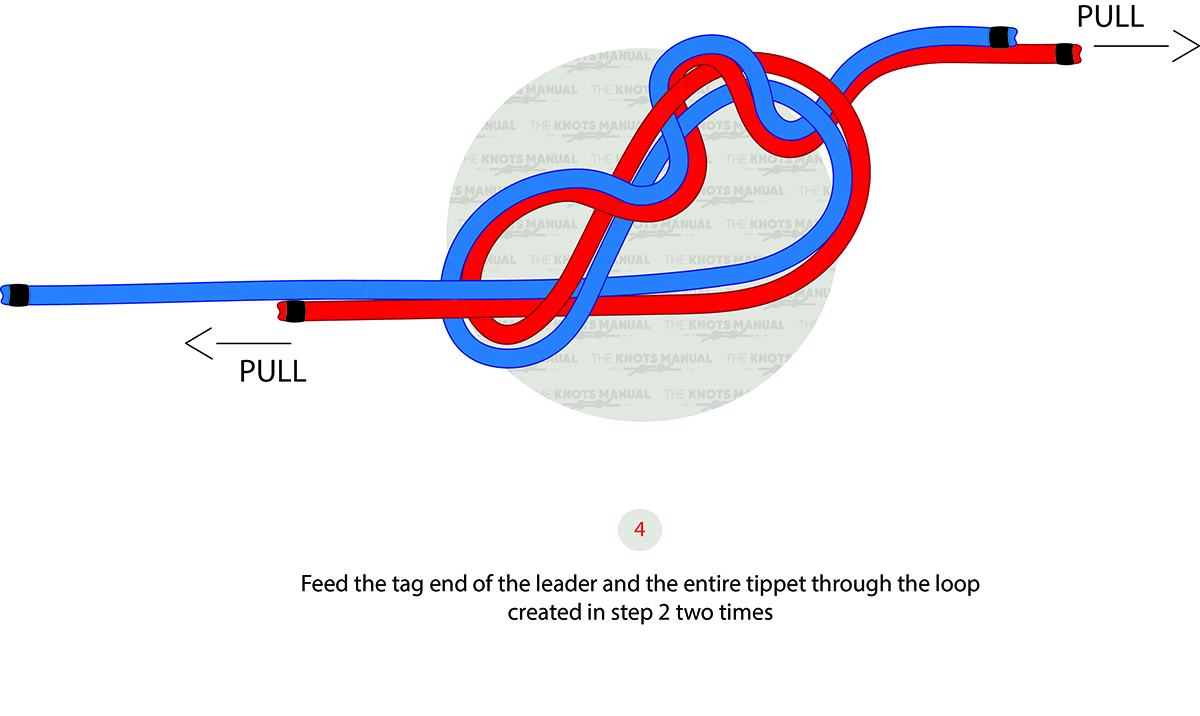
Feed the tag end of the leader and the tippet through the loop created in step two. Repeat.
Step 5:
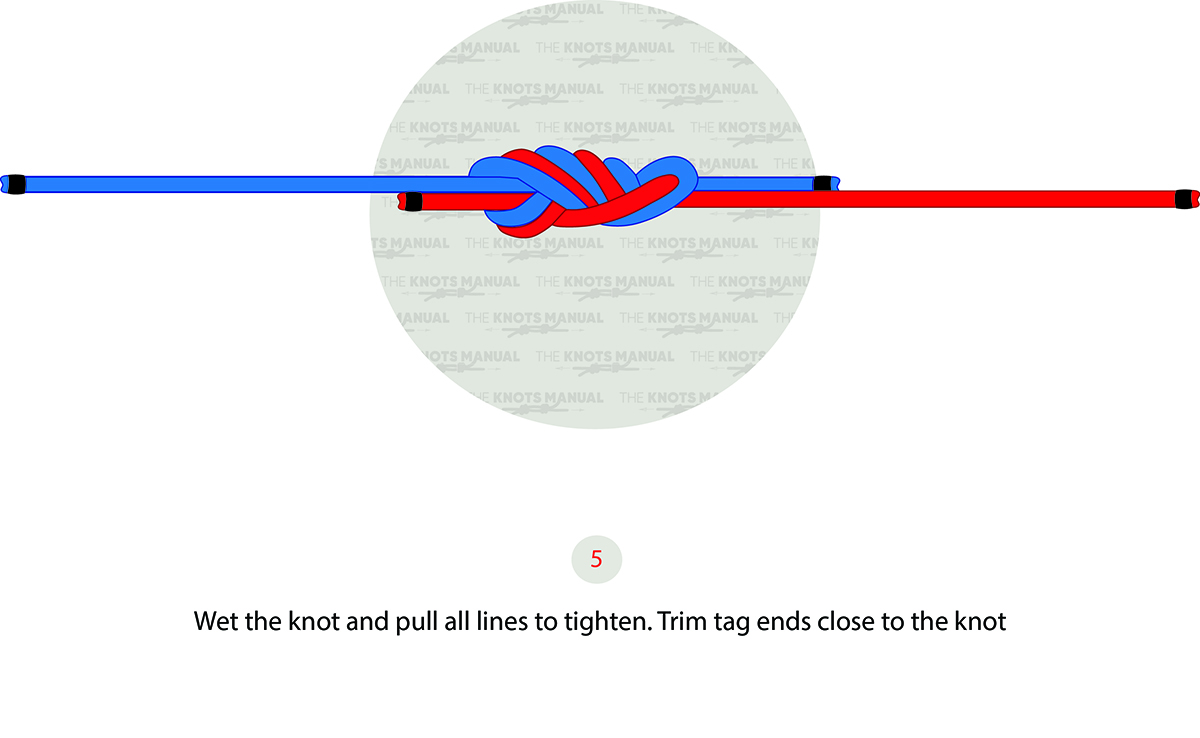
Moisten the knot and pull all lines to tighten. Trim excess tag ends.