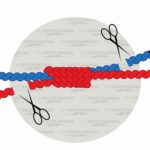
A Bristol Knot connects a shock line or tippet to a main line. It’s ideal for building a wind-on leader system. The knot enables the angler to reel the line and leader inside the rod tip, allowing for consistent casting and landing of the fish.
It’s also known as the No Name Knot.
Quick Tying Guide: Bristol Knot
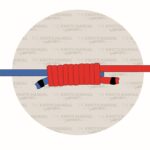
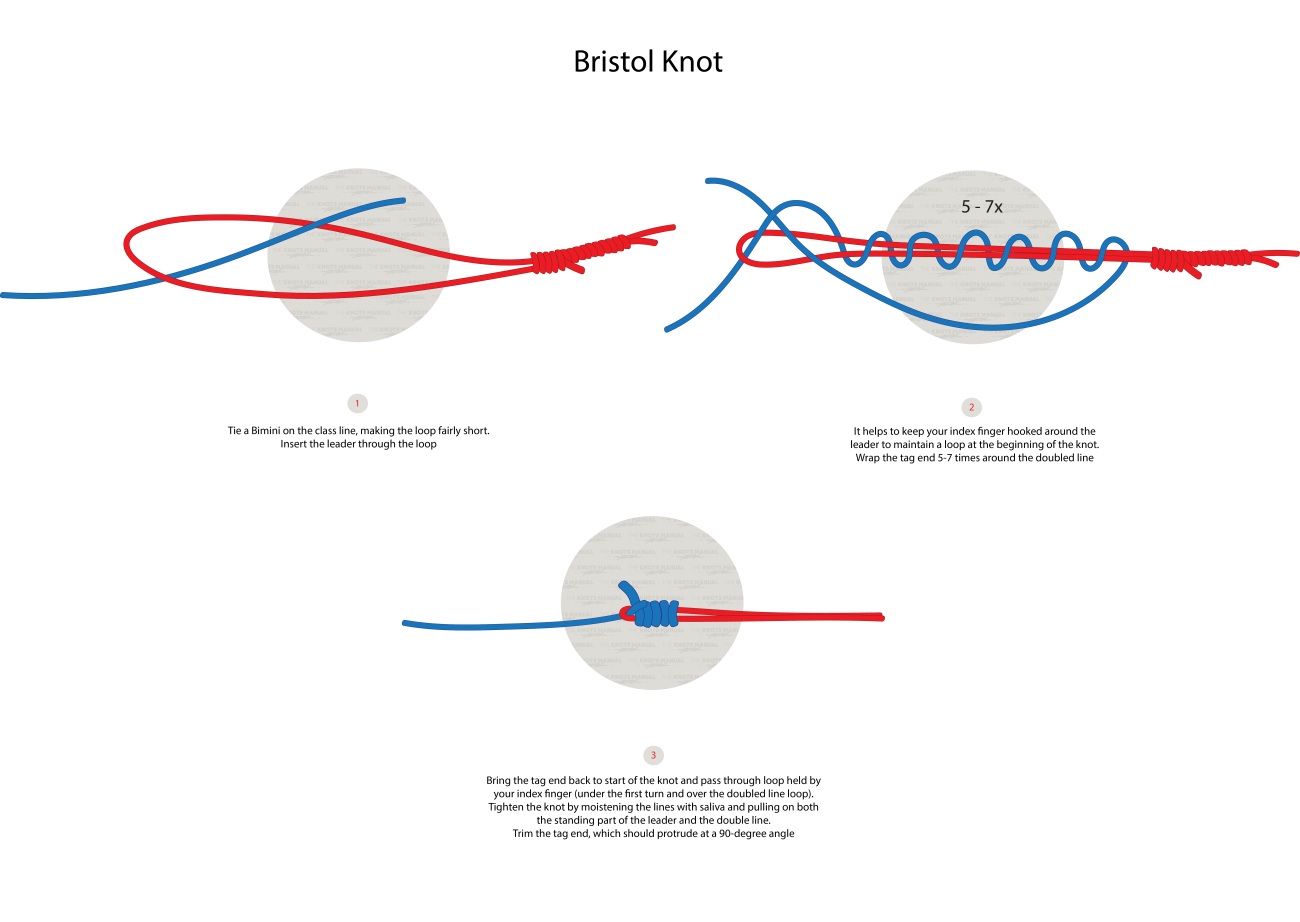
To make a Bristol Knot, start by tying a bimini on the class line. Ensure the loop is short and thread the leader through it. Use your index finger to maintain the loop, and then wrap the tag end around the doubled line 5-7 times.
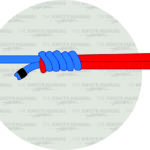
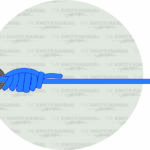
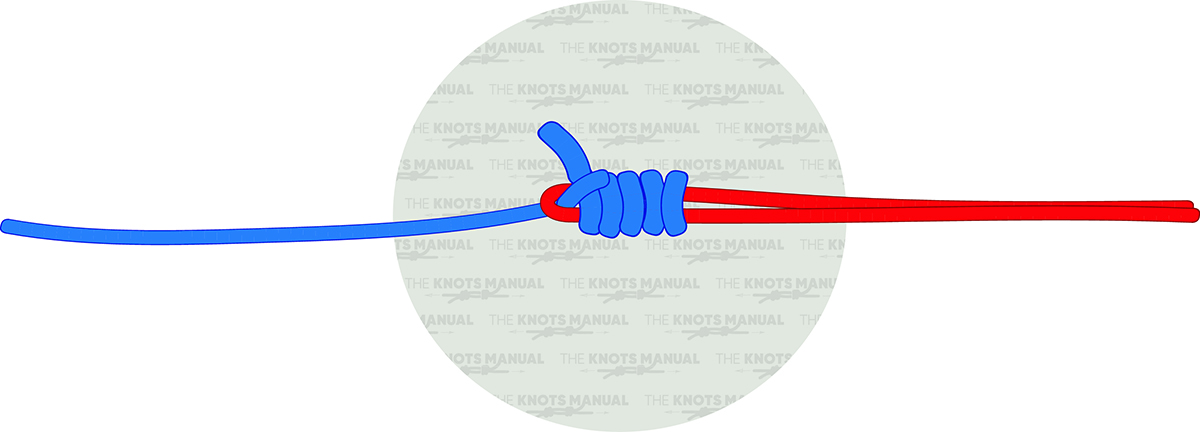
Bring the tag end back toward the beginning of the knot and pass through the loop you’ve been holding with your index finger. Make sure you’re going under the first turn and over the double line. Moisten the knot with saliva and then tighten it by pulling on the standing leader and the doubled line. Finally, trim the tag end.
Should You Use a Bristol Knot?
A Bristol Knot is a convenient way to combine mono lines with fluorocarbon leaders. It joins lines of all sizes, allowing them to pass through rod guides without issue. It’s quick to tie but can wear easily and, when left unsupervised, may fail.
Knots similar to a Bristol Knot
Bimini Twist knot—A strong knot that creates a loop at the end of a fishing line, mainly used for offshore trolling or sport fishing. This knot retains 100% of the line’s original strength.
Aussie Twist knot—This knot connects a braided line to a fluorocarbon leader. It starts with a braided double line created by a bimini twist. Once tied, the Aussie connects to the fluorocarbon leader within seconds.
Slim Beauty knot—The Slim Beauty joins a braided mainline to a monofilament or fluorocarbon leader.
FG knot—A strong knot that can pass through guides without slipping, often used for pro-bass fishing. The FG is an excellent knot for combining a braid with a mono.
Albright Special knot—This reliable knot is known for joining monofilament material to a braided line. It is popular among fly fishermen.
Step 1:
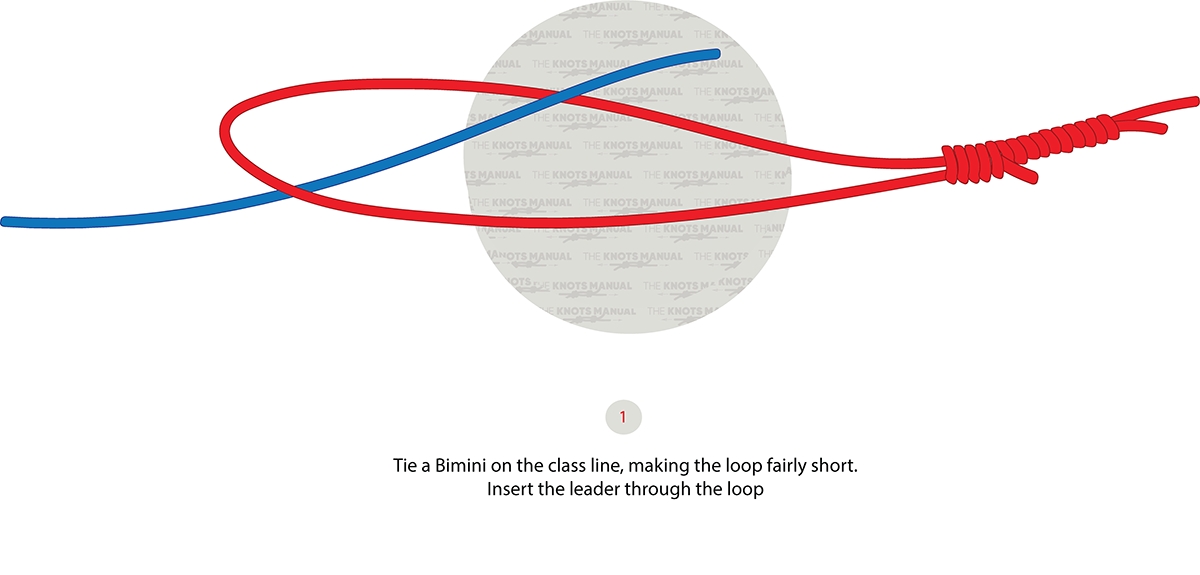
Using a class line, tie a bimini, keeping the loop very short. Pull the leader through the loop.
Step 2:
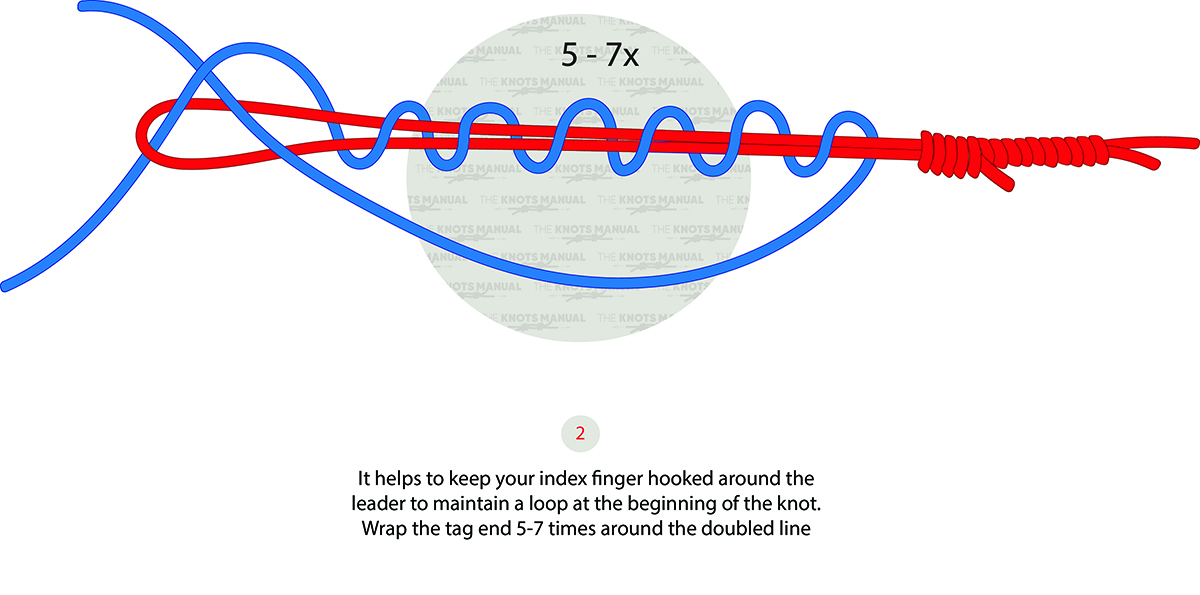
Keep your index finger around the leader to maintain the loop at the beginning of the knot. Wrap the tag around the double line 5-7 times.
Step 3:
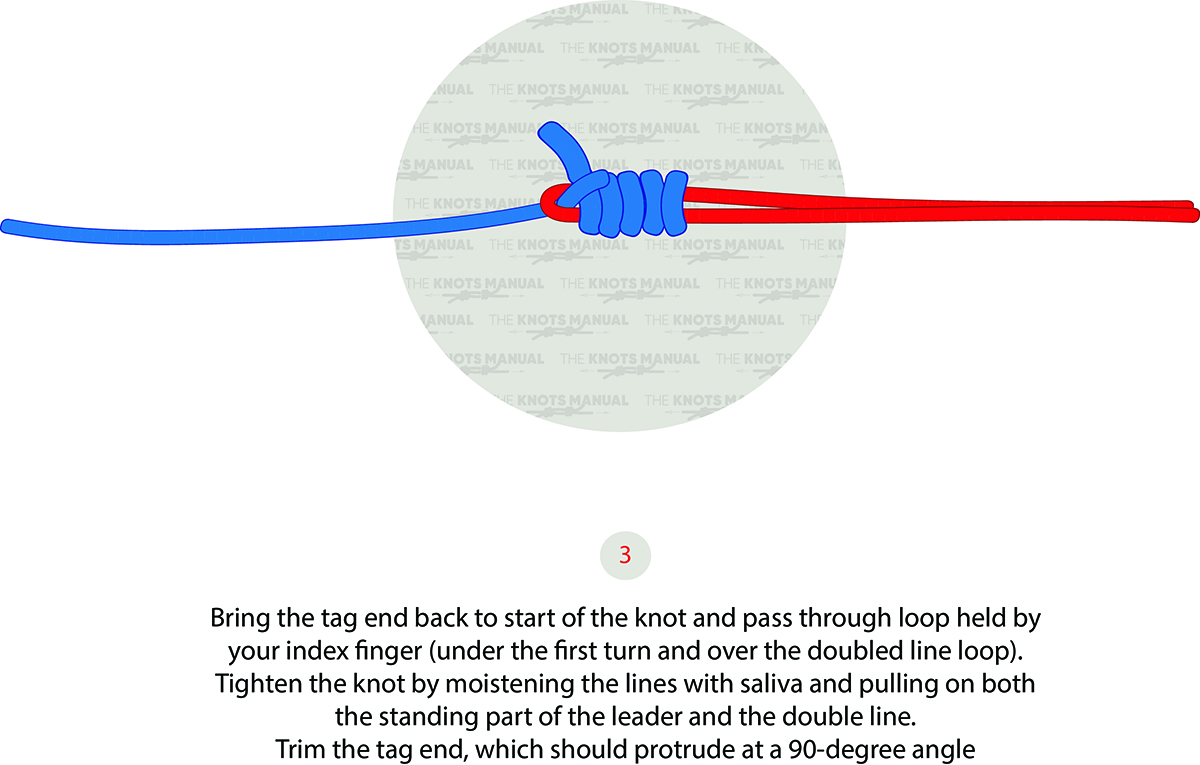
Pull the tag back to the start of the knot. Pass it through the loop under the first turn over the double line. Moisten the line with saliva and tighten it by pulling on both the standing part of the leader and the double line. Trim the tag, which should stick out at a 90-degree angle.
