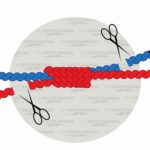
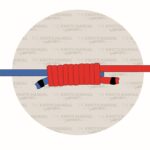
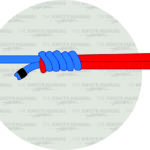
The Alberto Knot is a very strong knot that joins two lines made of different materials, such as braided line to fluorocarbon or monofilament leader.
With its strength under pressure and ability to keep the lines connected well, many saltwater fishermen prefer this knot. Popularized by angler Alberto Knie, the knot was developed as an alternative to other connection knots.
Alberto Knot: Quick Tying Guide
To tie an Alberto Knot, begin by doubling back a few inches of the leader line to create a loop. Thread the main line through the loop and wrap it around both strands of the leader about seven to ten times.
Then, reverse direction and wrap back toward the loop with another seven to ten wraps.
Finally, pass the main line back through the loop, moisten the knot, and pull both ends to tighten. Trim the tag ends to finish.
Why Use an Alberto Knot?
The Alberto Knot is popular for saltwater fishing because it keeps different fishing lines together while still maintaining the strength.
Many fishermen find it stronger than the Double Uni Knot when using braided line. Its slim shape helps it pass through rod guides smoothly, without snagging.
While it may take some practice to learn, the Alberto Knot is worth the effort because of its reliability under tension.
Knots Similar to the Alberto Knot
Double Uni Knot – An easy-to-use and strong knot used for both saltwater and freshwater fishing to connect lines of similar or different diameters.
FG Knot – A slim and strong knot often used by saltwater anglers to connect braided lines to leaders.
Blood Knot – A popular knot fly fishermen for its strength and ease of joining lines of similar diameter, but it’s not as effective for braided lines.
Surgeon’s Knot – A knot used to join two lines of similar diameter. While it’s quick and simple to use, this knot isn’t very strong under pressure.

Step 1:
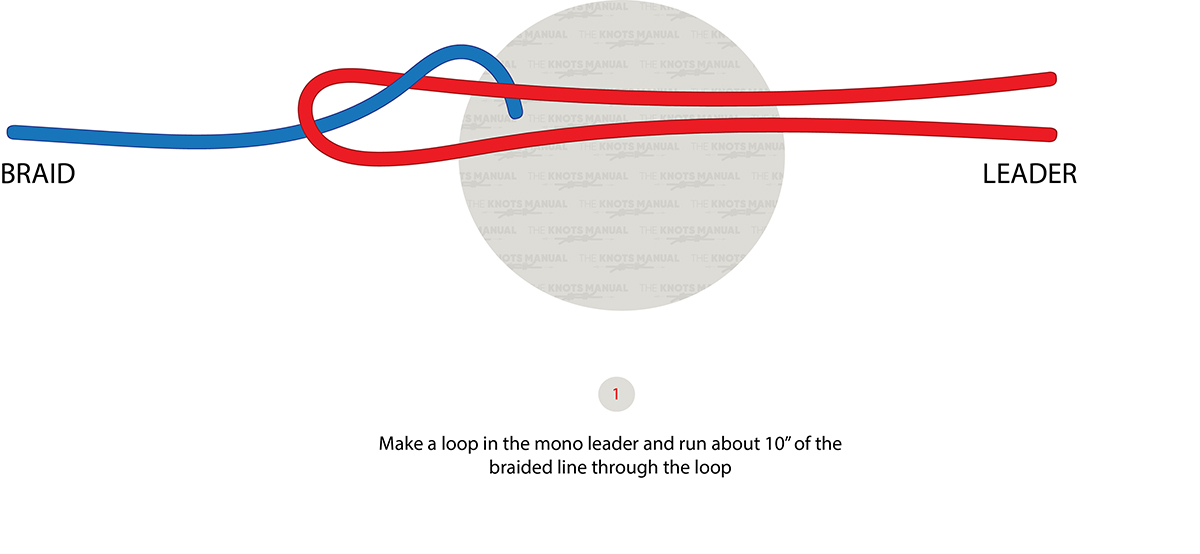
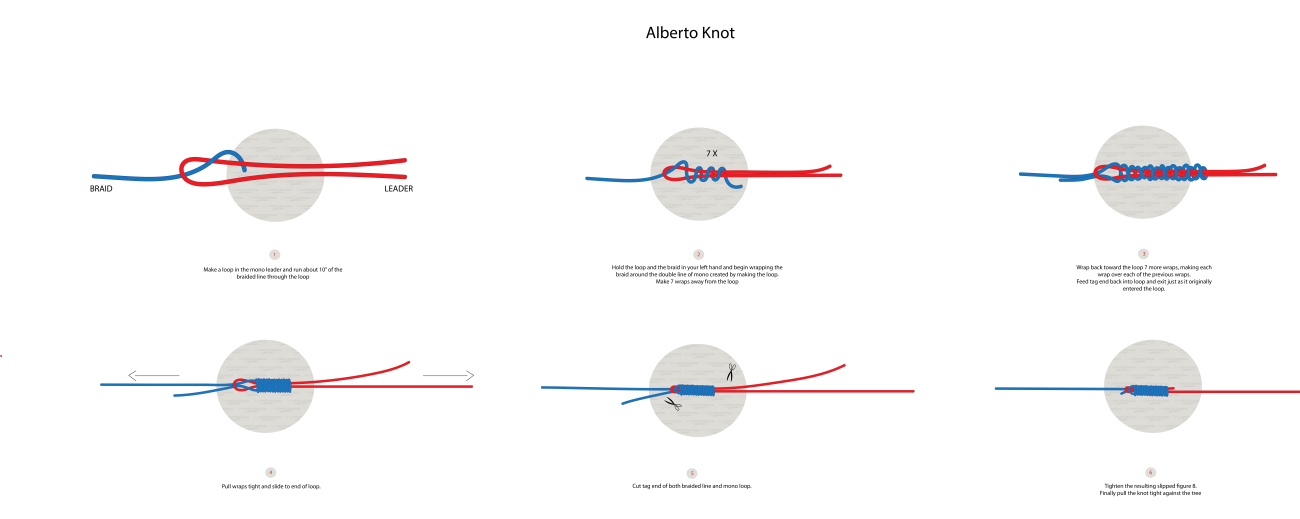
Begin by folding the leader line back on itself and creating a small loop, leaving a few inches of overlap for wrapping.
Step 2:
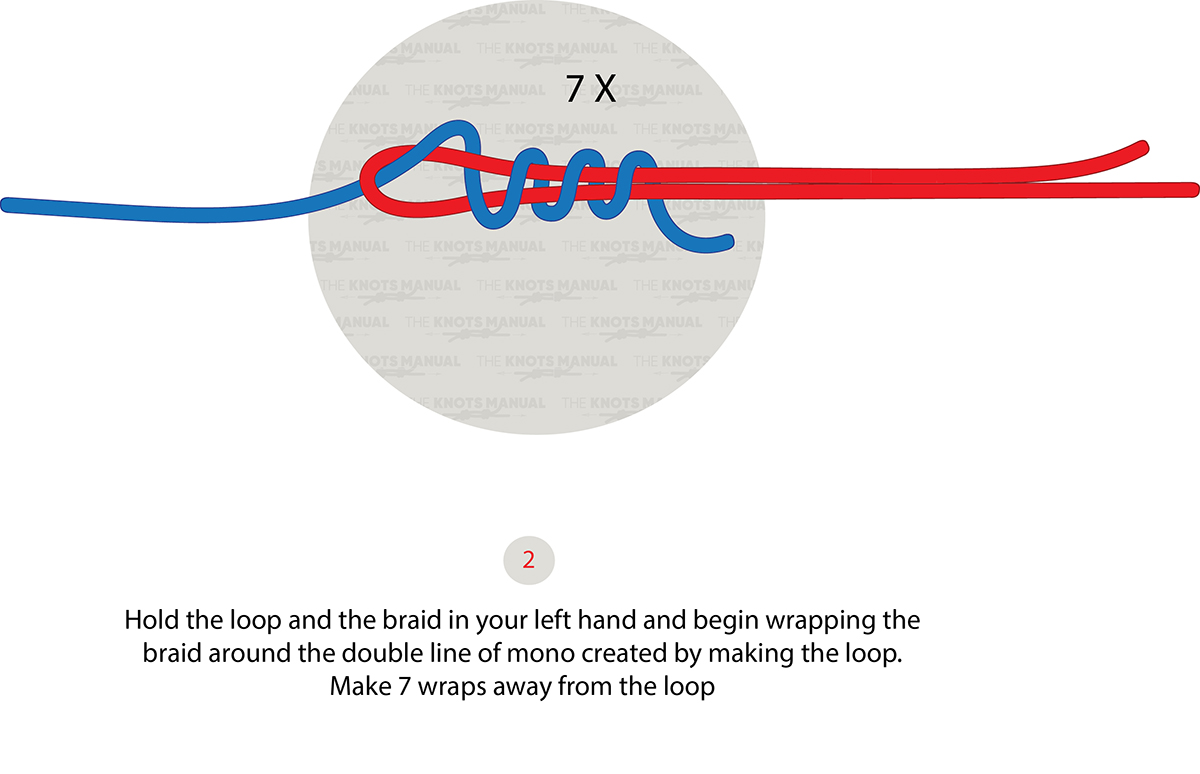
Thread the braid line through the loop from one side, and wrap it around both strands of the leader seven times.
Step 3:
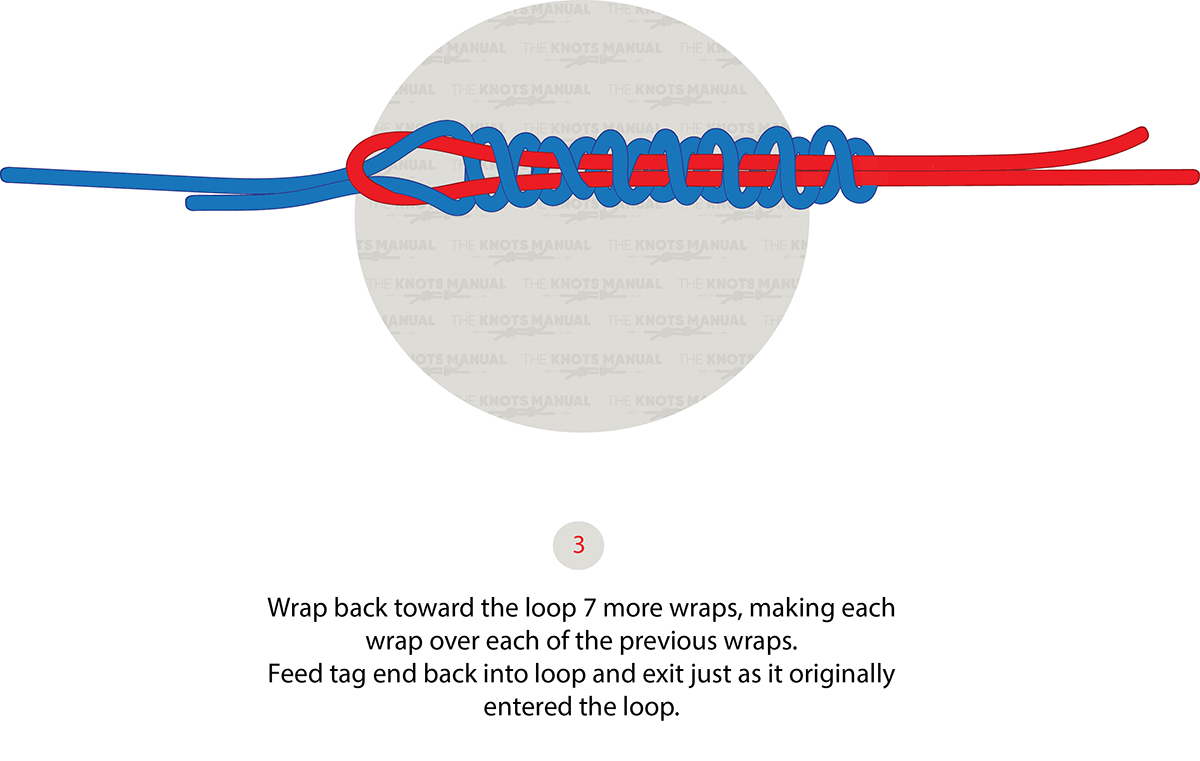
After completing the wraps, reverse direction and wrap the main line back toward the loop, making another seven wraps.
Step 4:
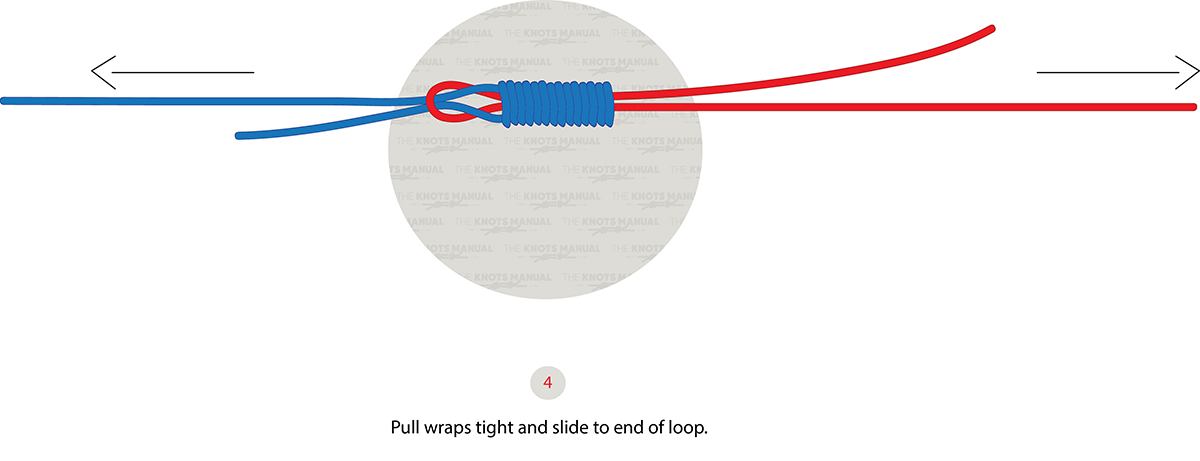
Pull both the main line and leader to tighten the wraps and slide them down to the end of the loop.
Step 5:
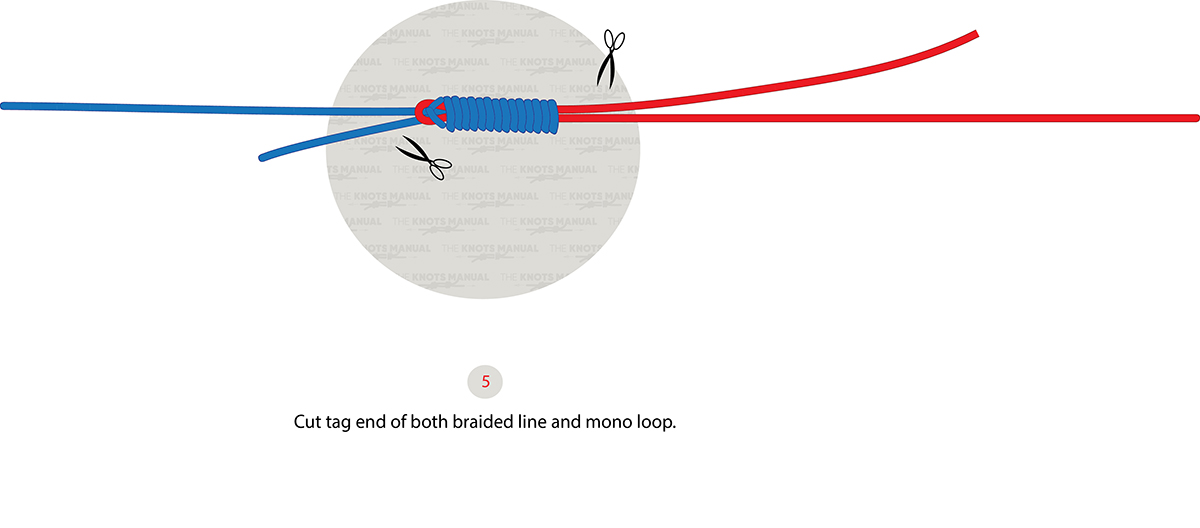
Trim the excess tag ends, ensuring a clean, streamlined finish.
Step 6:
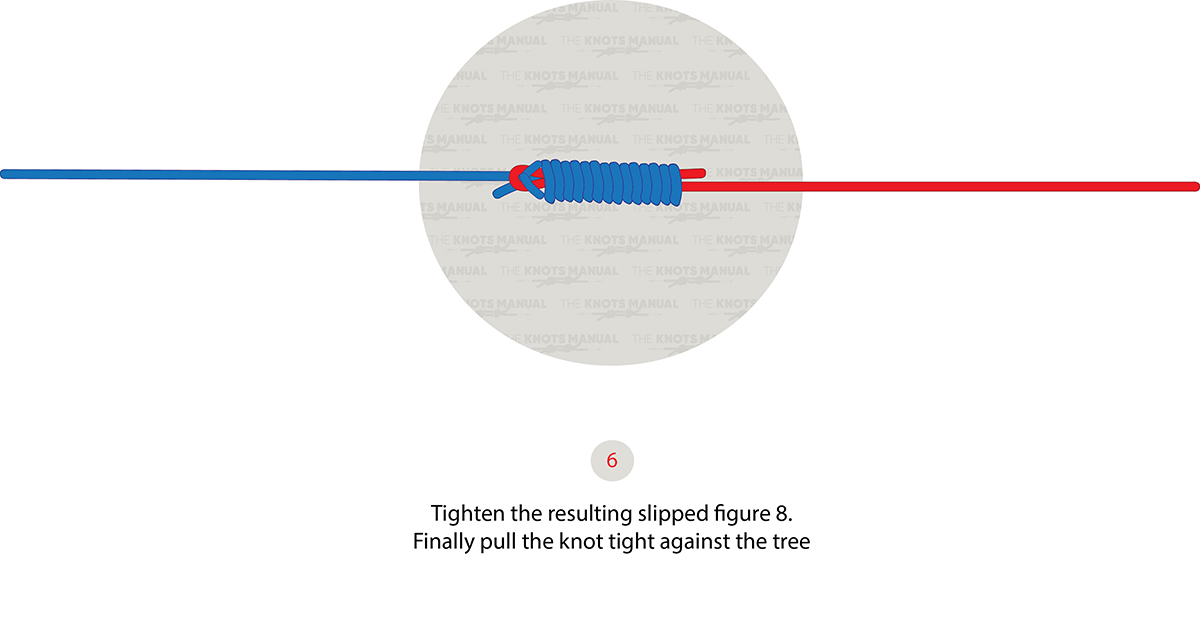
Tighten the knot so it is secure against an object like a tree or pole.
